Tip: Setting up your new Atlas Grazing account with our bulk import function is simple.
Download and fill out the CSV file for your paddocks, mobs, rainfall and graze history, then drag and drop the file into our bulk upload feature.
If you are a MaiaGrazing user, we can extract your data into the CSV files ready for you to upload to Atlas Grazing.
Please note: If you chose to manually draw paddocks and add mobs, you will lose the ability to bulk upload CSVs.
Please note: To get started with basic records management, set up your paddocks and livestock. For each of these, you can either create them manually or bulk import them. If you choose to manually enter information, you will lose the ability to bulk import data. For example, if you start manually drawing paddocks, you cannot then go and bulk upload paddock boundaries.
You can also import historical grazes and rainfall which will give you immediate insights on your property’s historical performance. These are not required to get going and start importing records.
Set up of this information is a desktop only feature, it can not be completed on the mobile application.
1. From the Home Dashboard select the Paddocks tab.
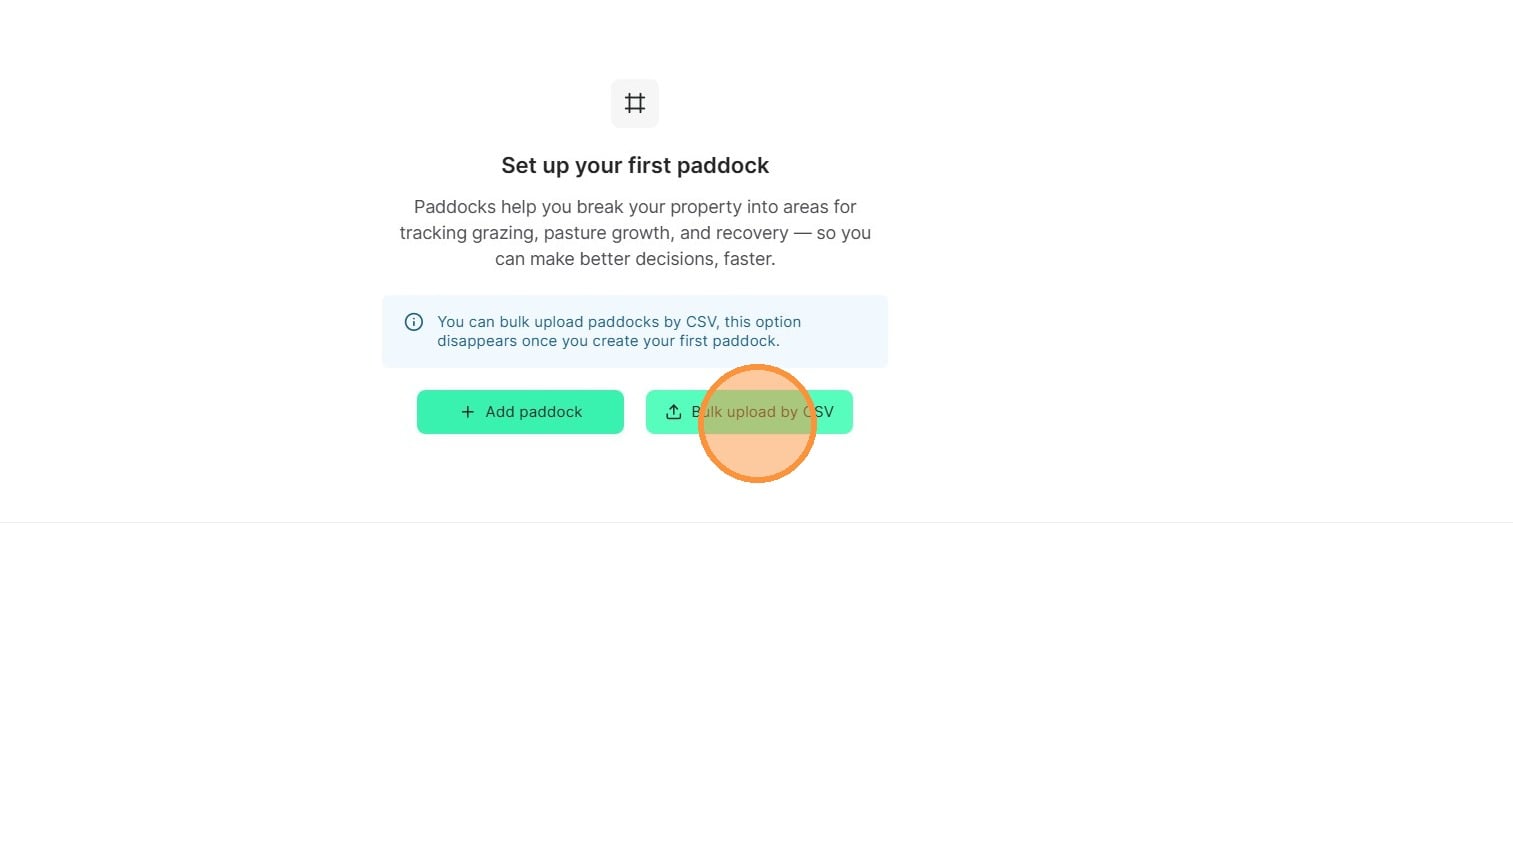
2. Select "Bulk upload by CSV"
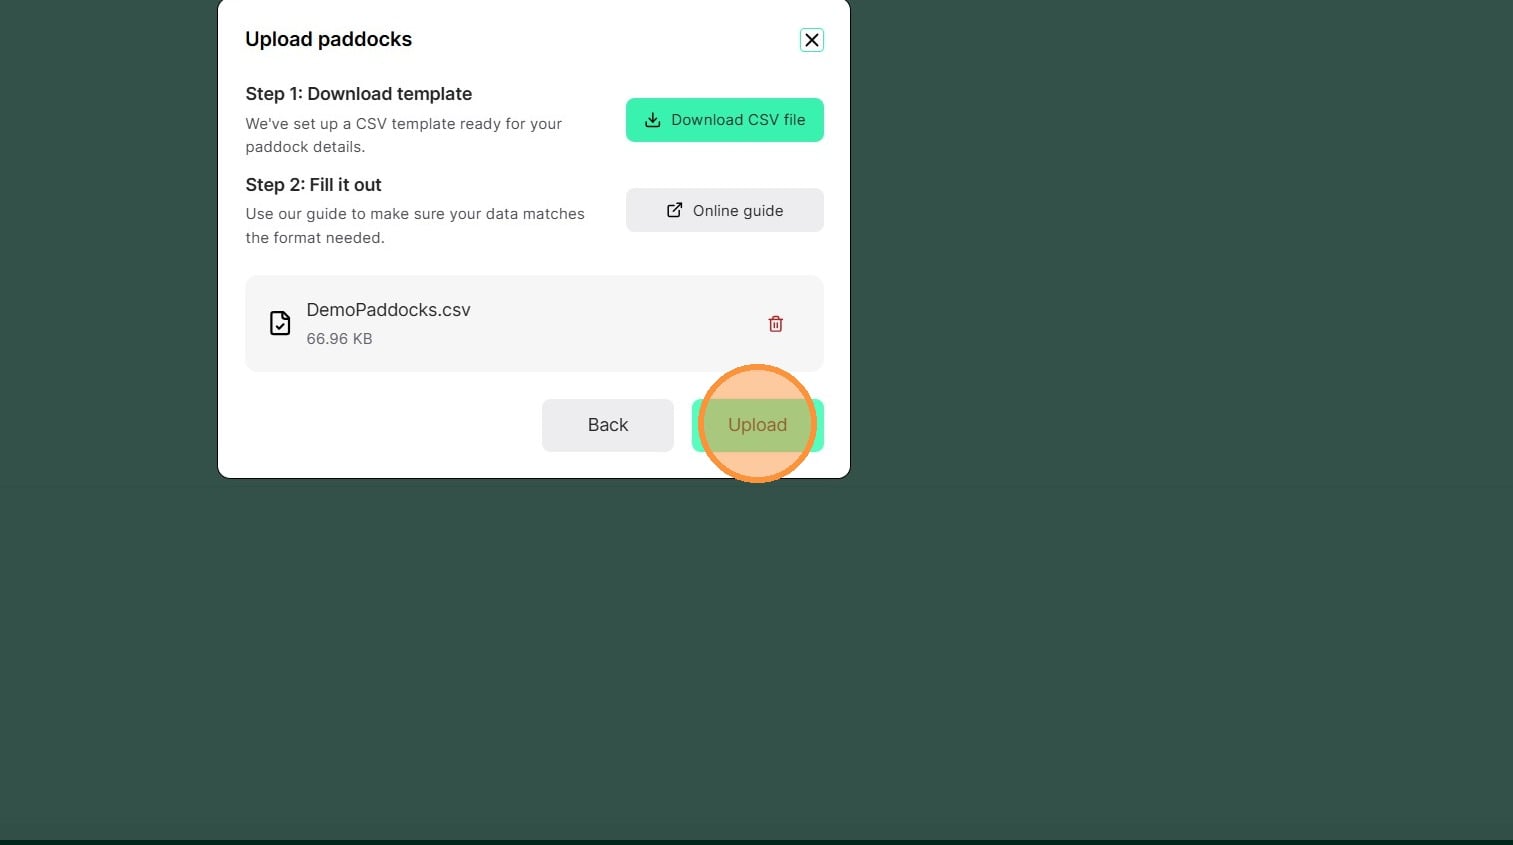
3. Either prepare your file for import or request a copy of your Maia Data from our support team.
Download the template
Create a row for each paddock.
Name of Field | Description | Parameters |
Paddock Name | The display name of a paddock, used on the property map, and paddock list. | |
Area | Enter the area of the paddock. | Please note that this is in our default unit of ha. if your paddock areas are in acres, convert this to ha first. |
Boundary | This field uses GeoJSON format to list coordinates that together map a paddock perimeter. You can leave this blank to use our mapping tools in app to draw the boundary. | |
Paddock Group | Where this text matches perfectly, the import will create paddocks group, and add the paddocks assigned to them. | |
Pasture Species | Enter one of the following to map the dominant species in the paddock. |
4. Once you are satisfied with the document, attach your paddocks list CSV file in and select "Upload"
5. Once you file is uploaded select "Done"
Please note: For large paddock lists this can take a few minutes to upload. Please stay on the page until you get confirmation that the paddocks are completed.
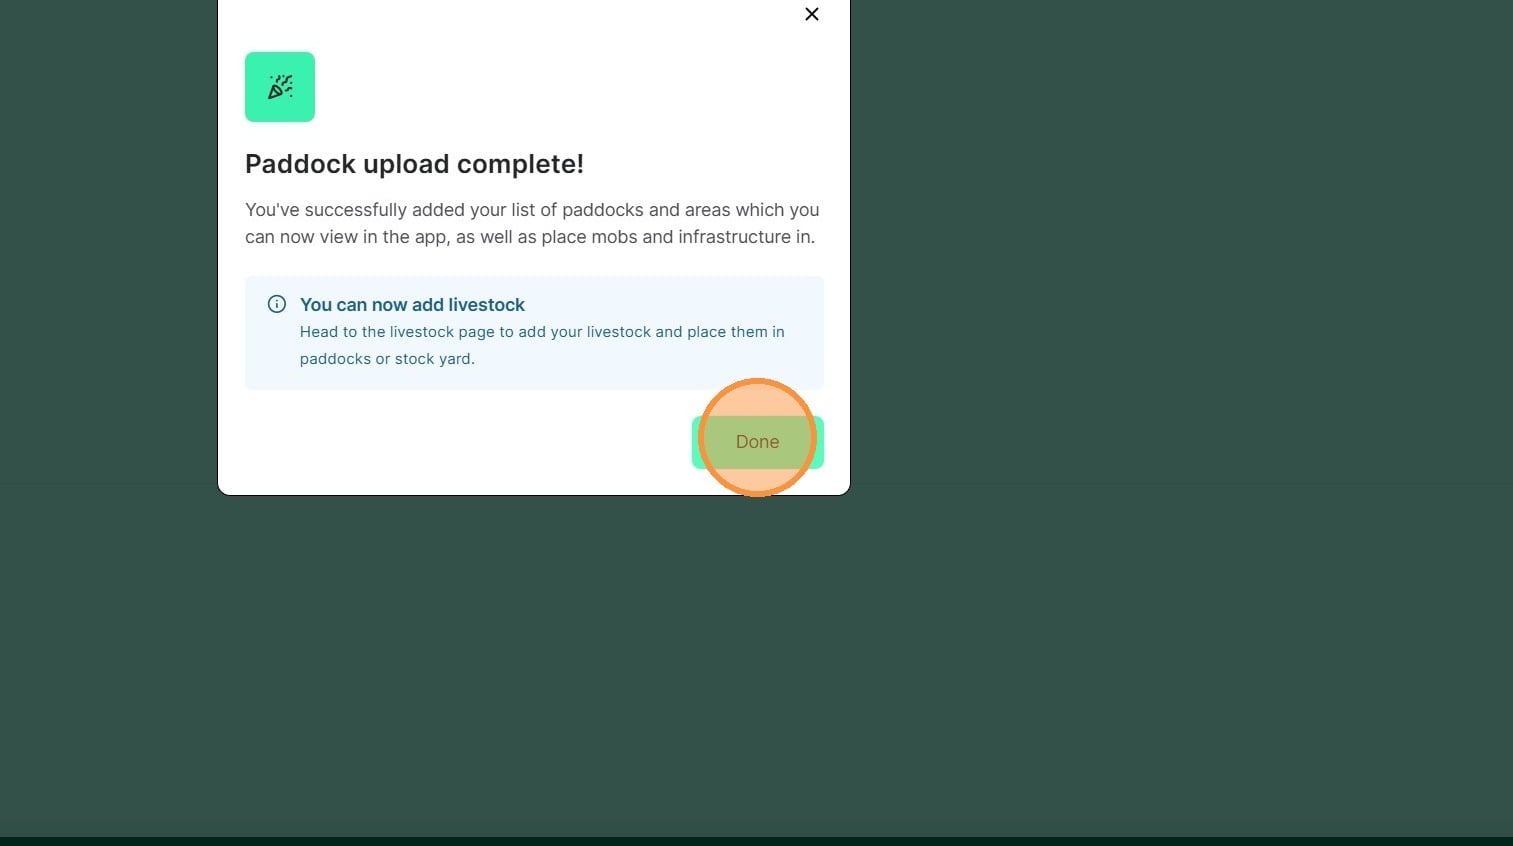
6. Paddocks are now available to view.
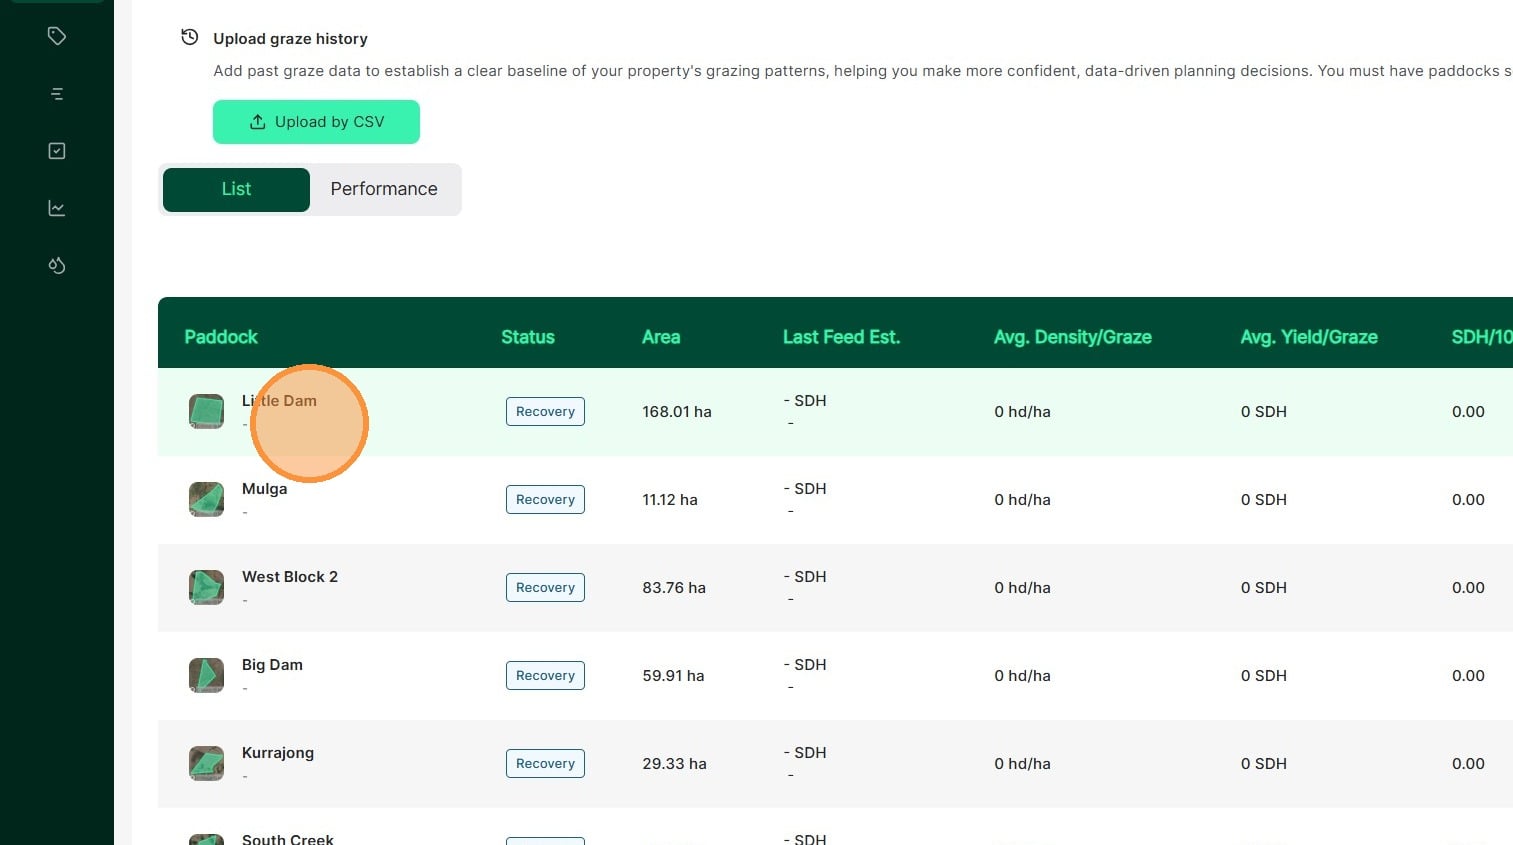
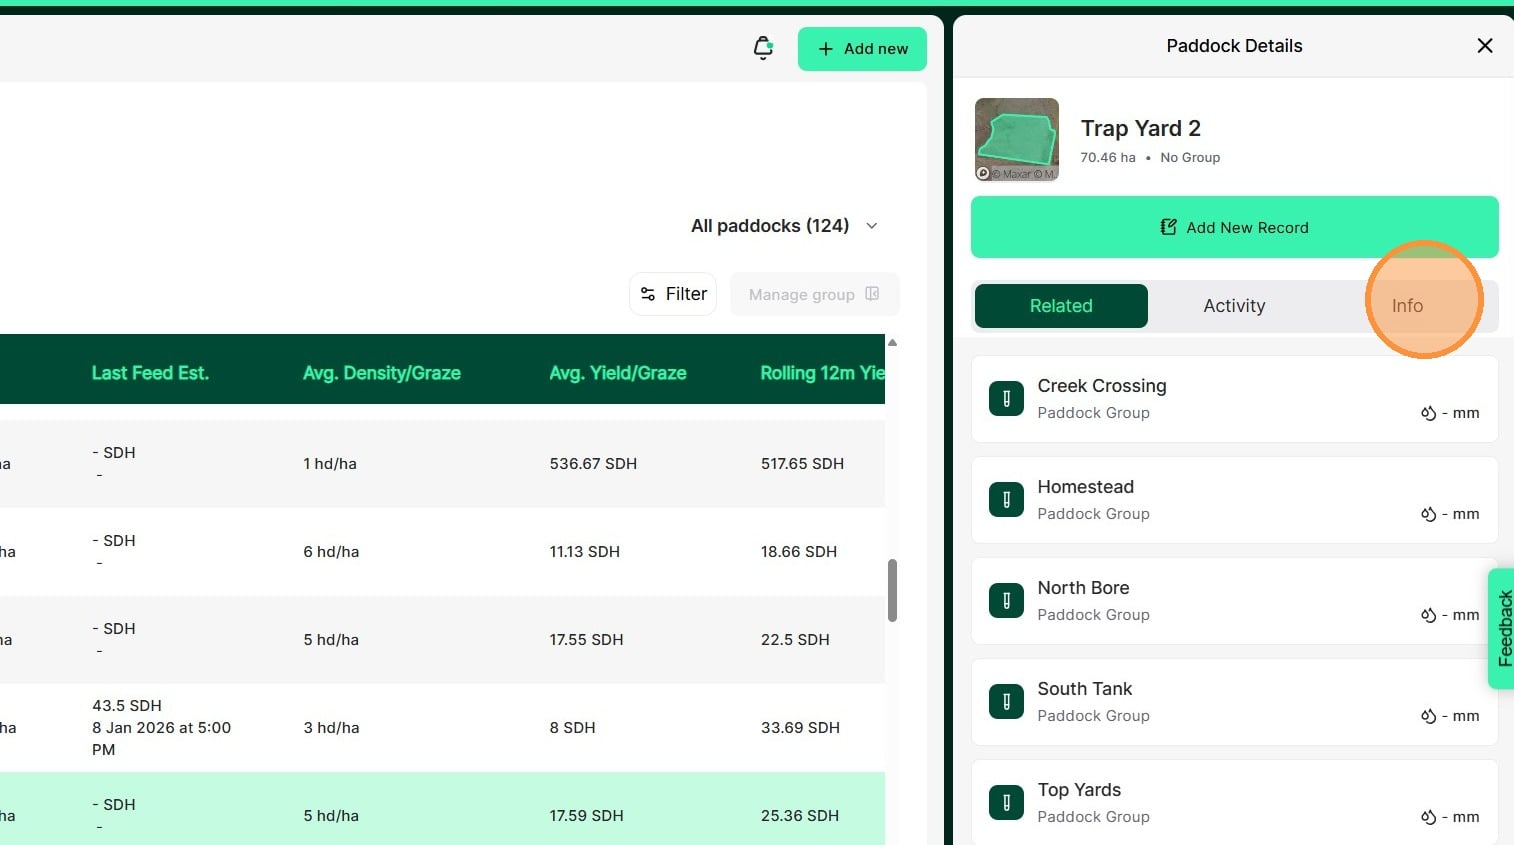
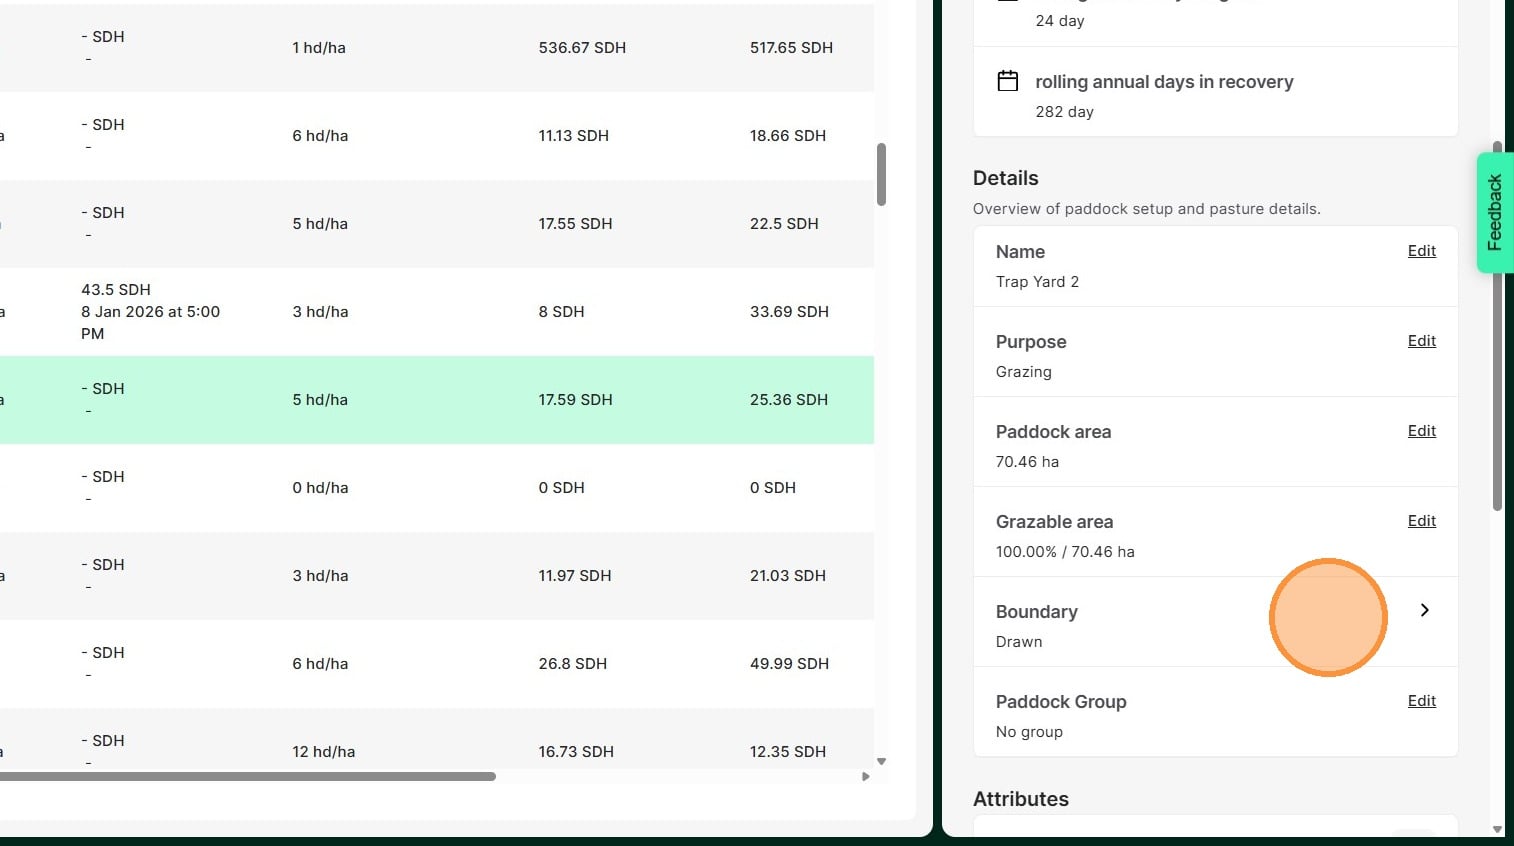
7. Select the relevant paddock from the paddock list or click on the paddock on the digital map.
8. Select "Info"
9. Select "Boundary"
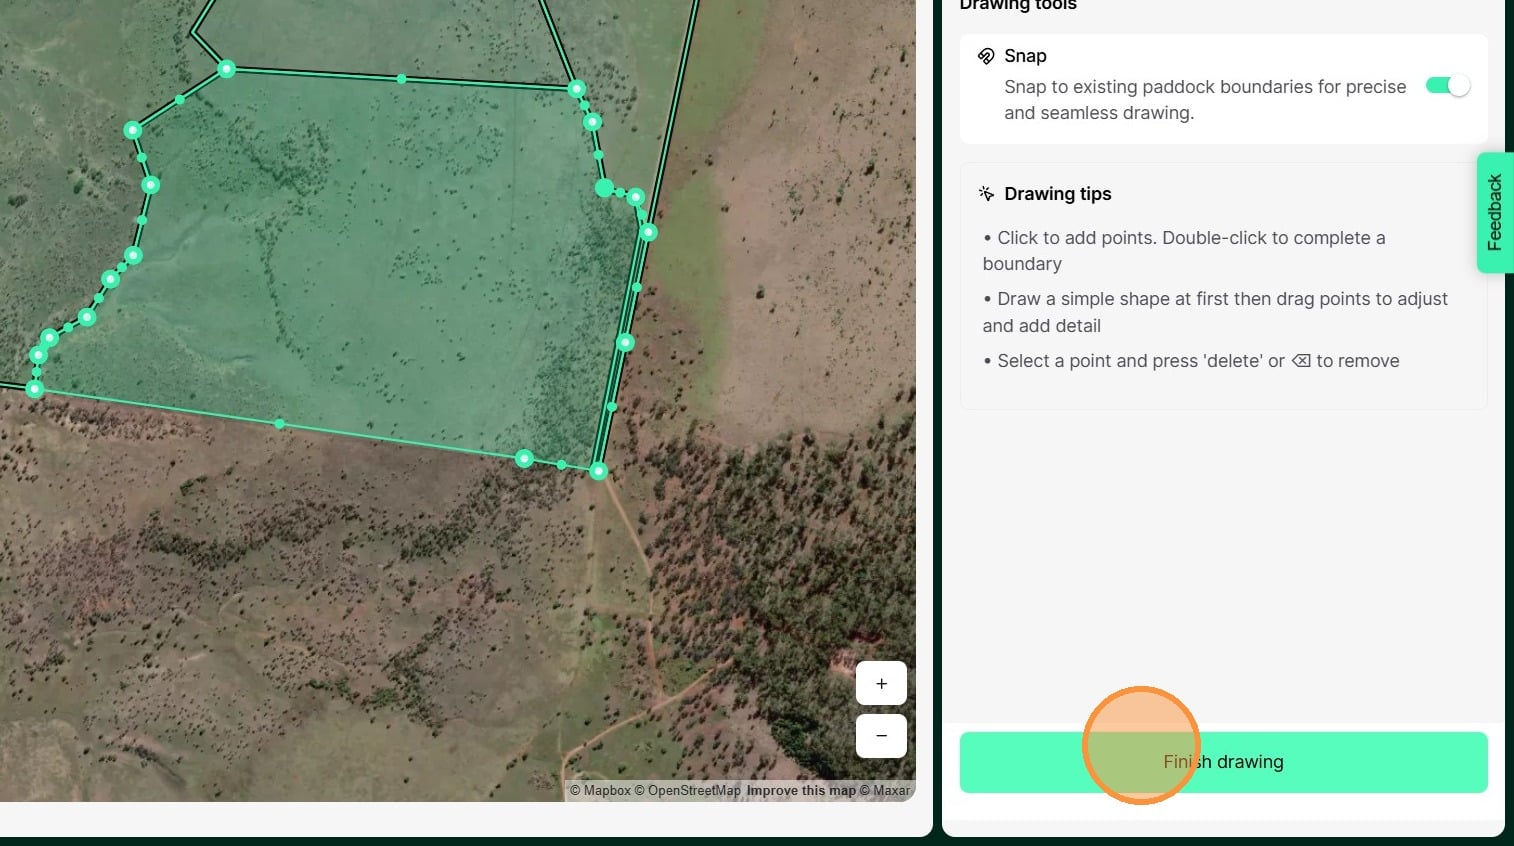
10. This will open the tool to edit or draw paddock boundaries. Turn on the 'Snap' tool so new boundaries will snap to existing boundaries for accurate mapping.
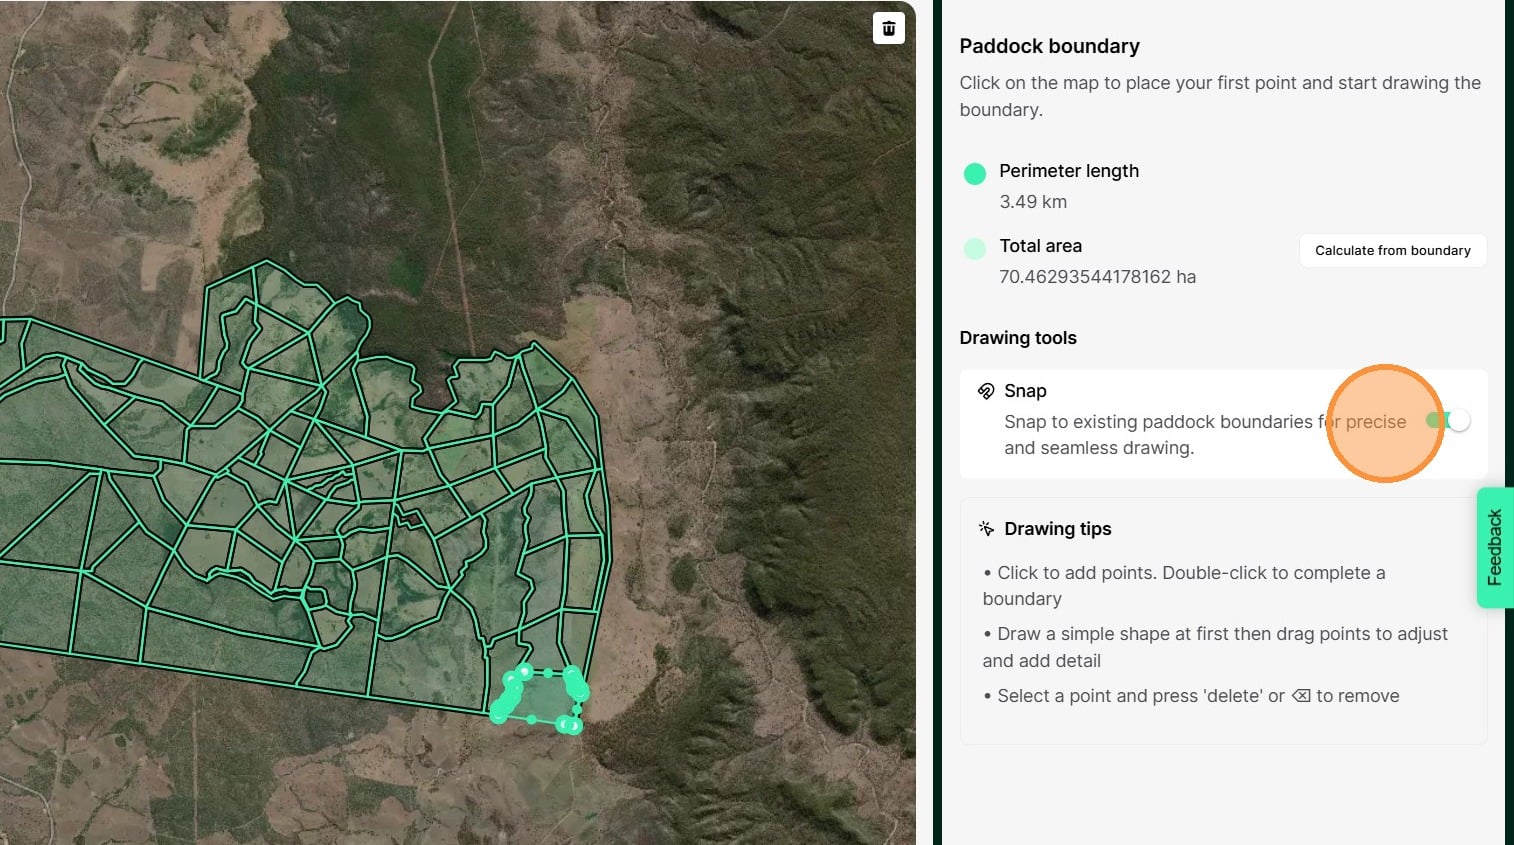
11. On the map, you can adjust the paddock boundary or draw the paddock boundary if it is missing, by clicking on the green dots and dragging it to create the paddock boundary. Zoom the map in with the "+" button to get a closer view of the map.
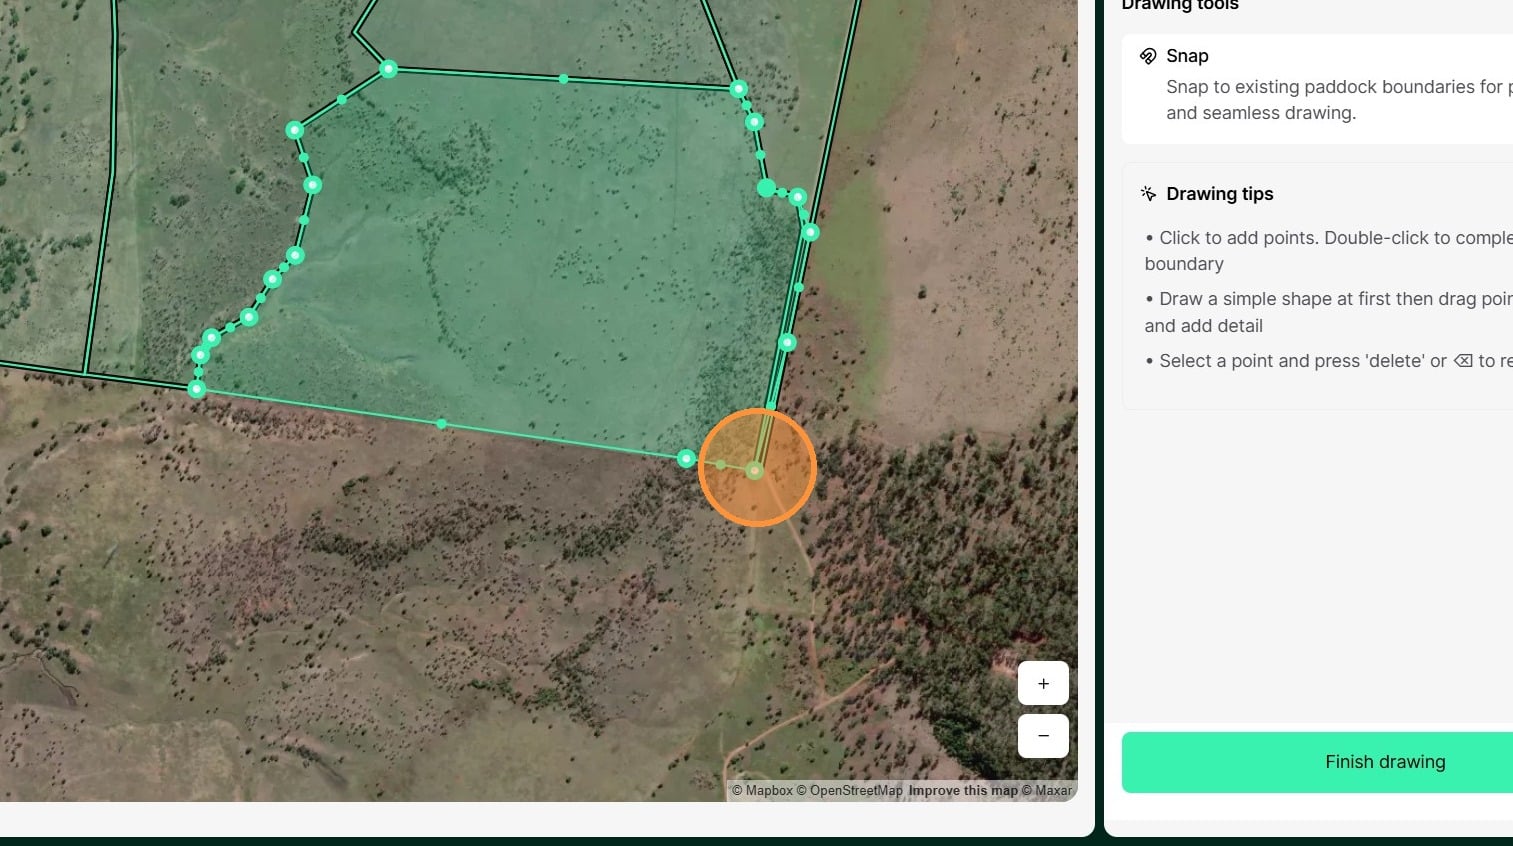
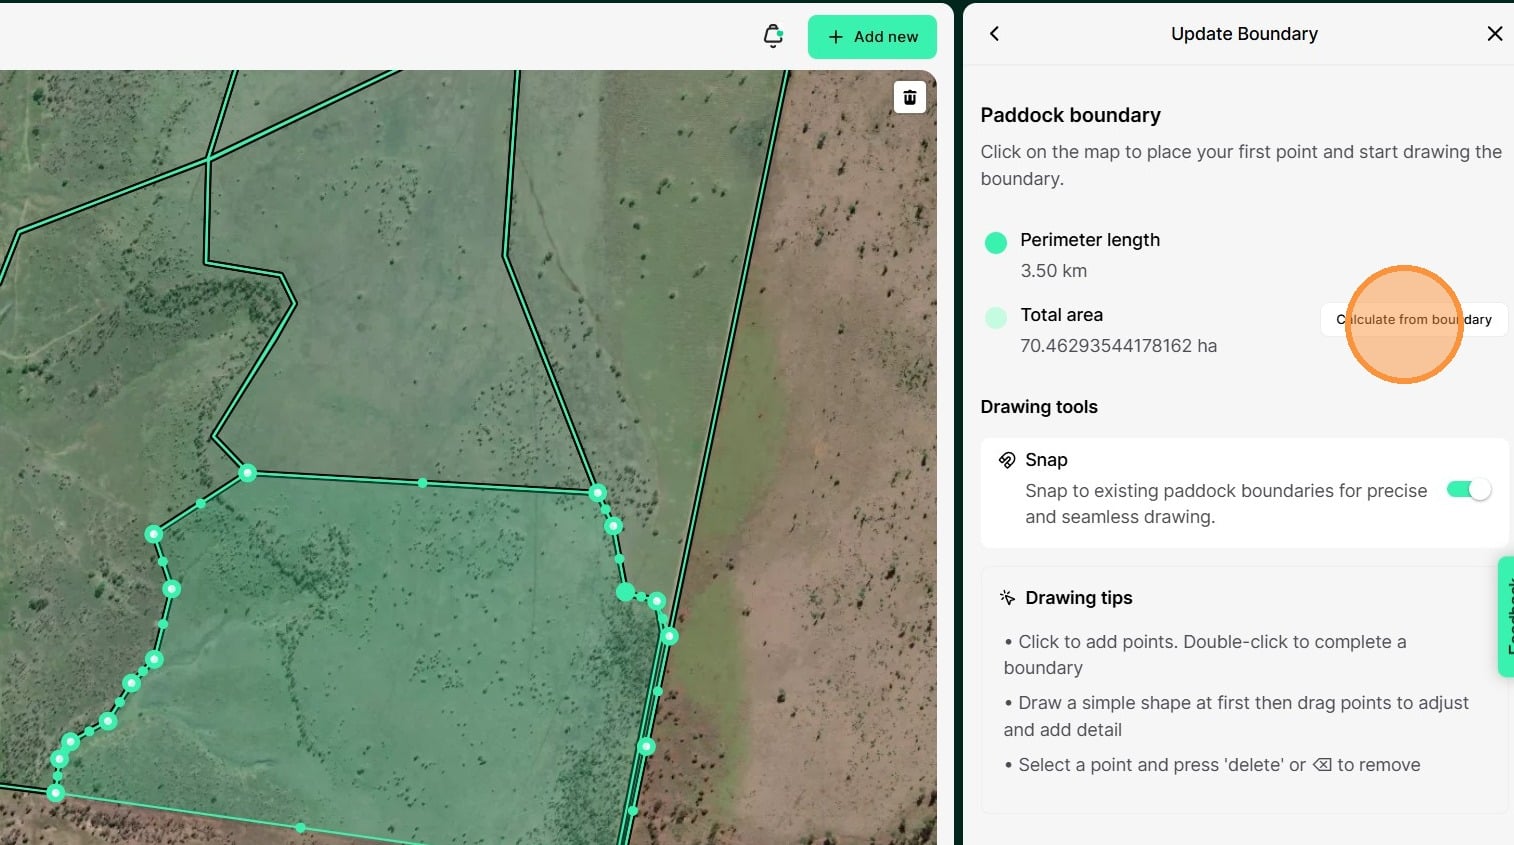
12. Atlas Grazing will calculate the paddock area based on the boundary.
To update the area click 'Calculate from Boundary'
13. When you have completed editing the paddock boundary, click "Finish drawing"
14. Select the Livestock tab.
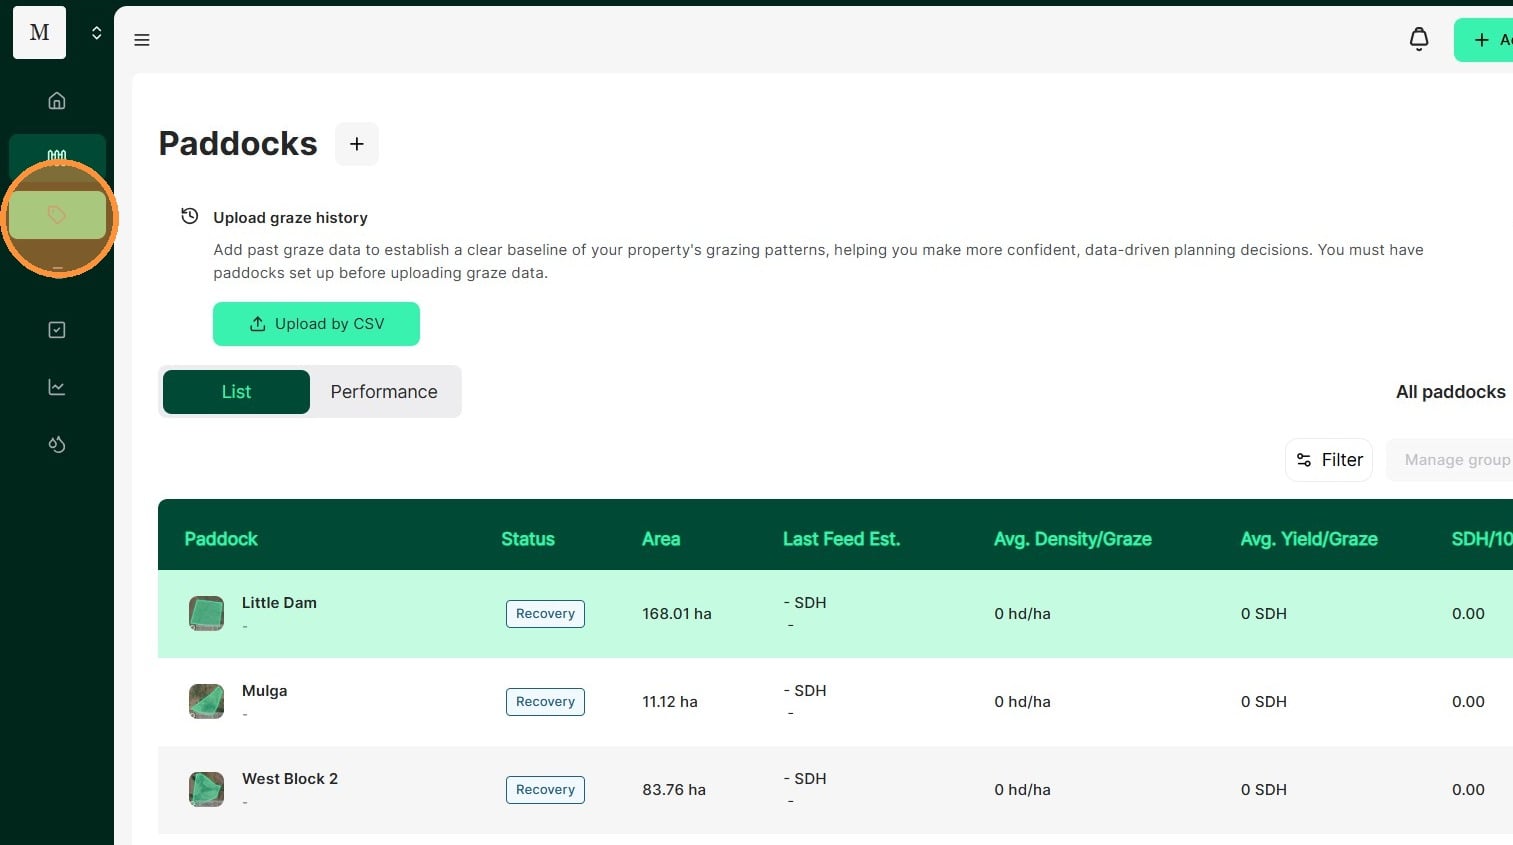
15. Select "Bulk upload by CSV"
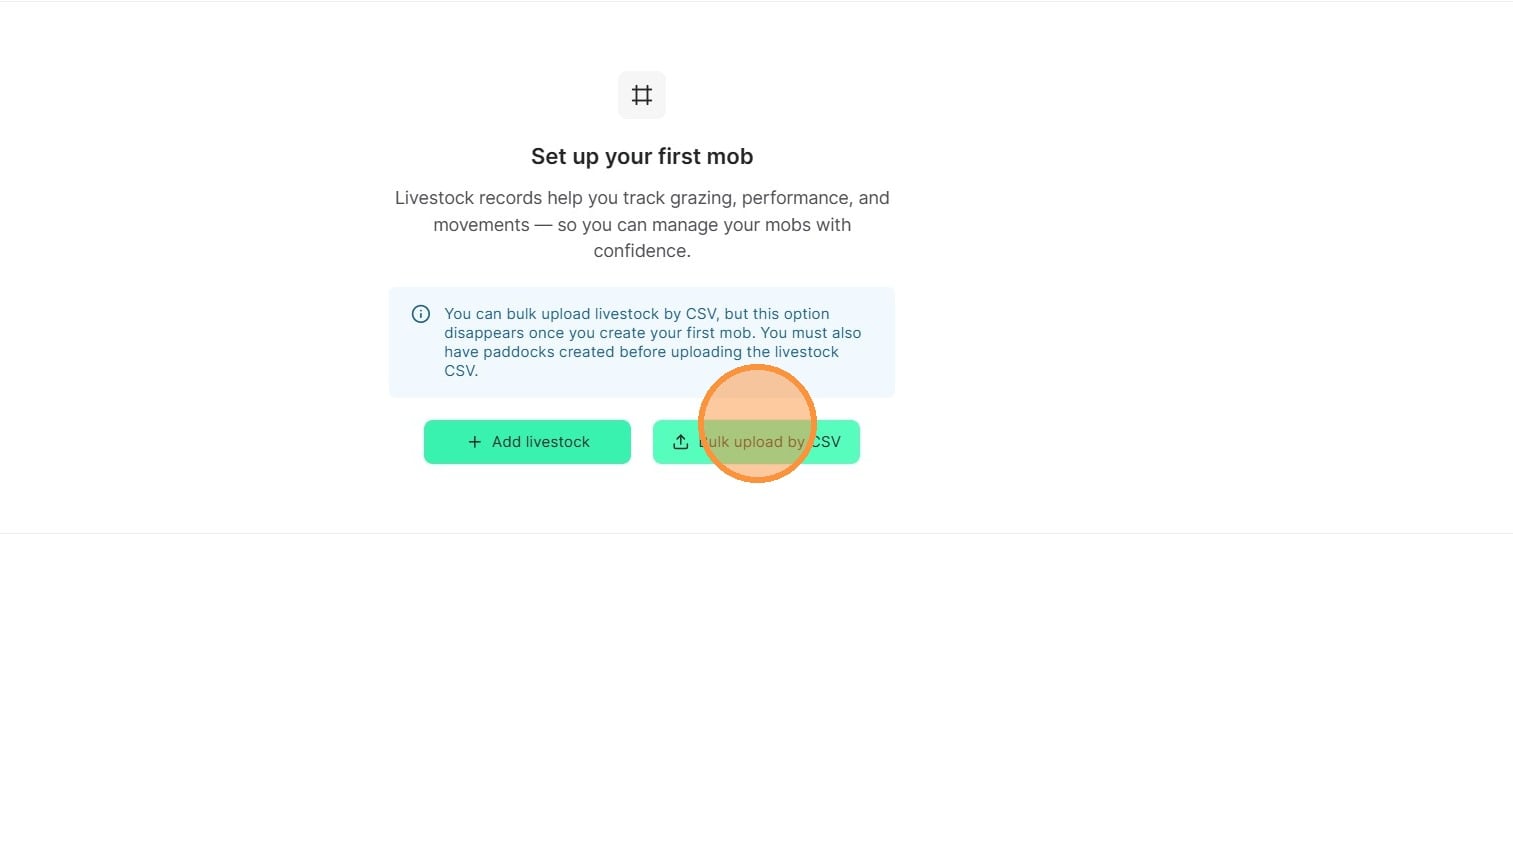
16. Prepare your Livestock Import File.
Keep in mind that this Livestock import is a snapshot in time of the stock on your property as at today.
Download the template
Create a row for each Stock Group. When thinking about how to structure your stock groups, consider the following:
Categorising Classes within Tag Colours or Birth Year Groups:
eg: Yellow Tag Ewes, October 2023 Steers
Stock Groups all share the same average weight, and ADG - the greater the variance in this the larger the deviation within the group, and potential rate of error, eg: you may wish to maintain 25KG or 50KG intervals between a stock group for the best accuracy depending on the species.
eg: Angus Heifers 250kg - 300kg , Preg Ewes Twins 40 - 50kg
If you run Agistment stock, you make wish to include the name of the agistee eg:
eg: Prime Beef 2023 Heifers
Complete each column:
Name of Field | Description | Parameters |
StockGroupName | The Name of a stock group. Make this meaningful to ensure you can easily track stock. | Text Field |
Origin | The record type of how the stock originated on a property. | PURCHASE |
OriginDate | The earliest data you which to create records for the stock. | DD/MM/YYYY |
Species | Categorises the species of animal, and links to the Stock class to determine the animal rating. | Sheep |
StockClass | Must match the Species, a stock class is used to both determine the animal rating, and can be used in reporting. | Cattle |
Objective | Categorises the stock into operational objectives. | TRADING |
CurrentAverageWeight | Number, in KG | |
TargetWeight | Number, in KG | |
Headcount | Number | |
ADG | Average Daily Gain (In KG) | 0 |
Rating | Animal Rating, a standardised unit of measuring the daily feed demand of an animal. | Number in DSE or leave blank to use lookup table |
Mob | Text, Mob Names must be exact to group stock groups together. |
Save as CSV for upload.
17. Attach your mob list CSV file in and select "Upload"
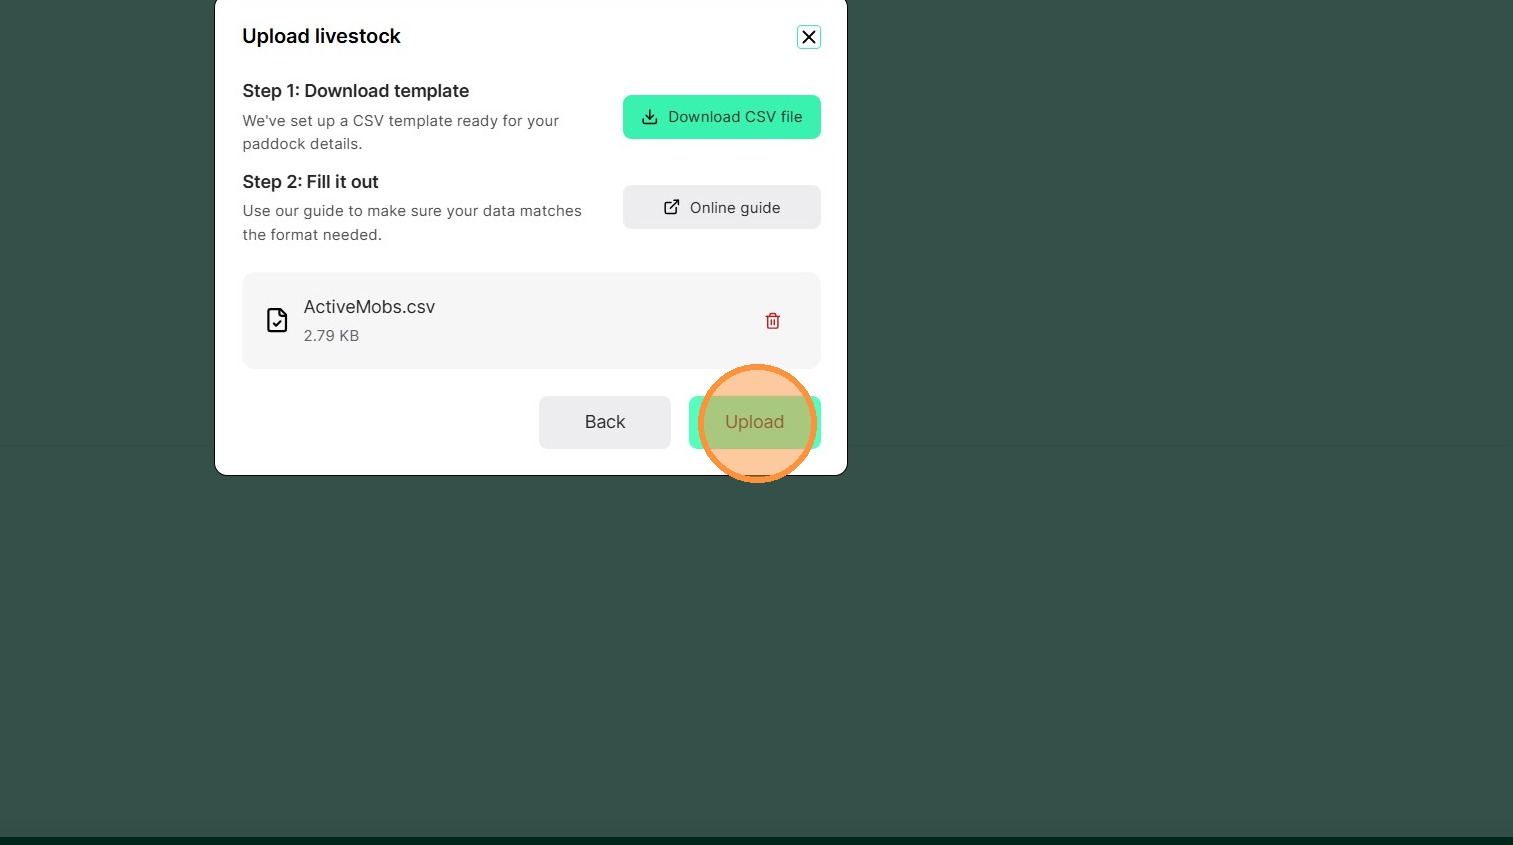
18. Once your file has successfully uploaded, select "Done"
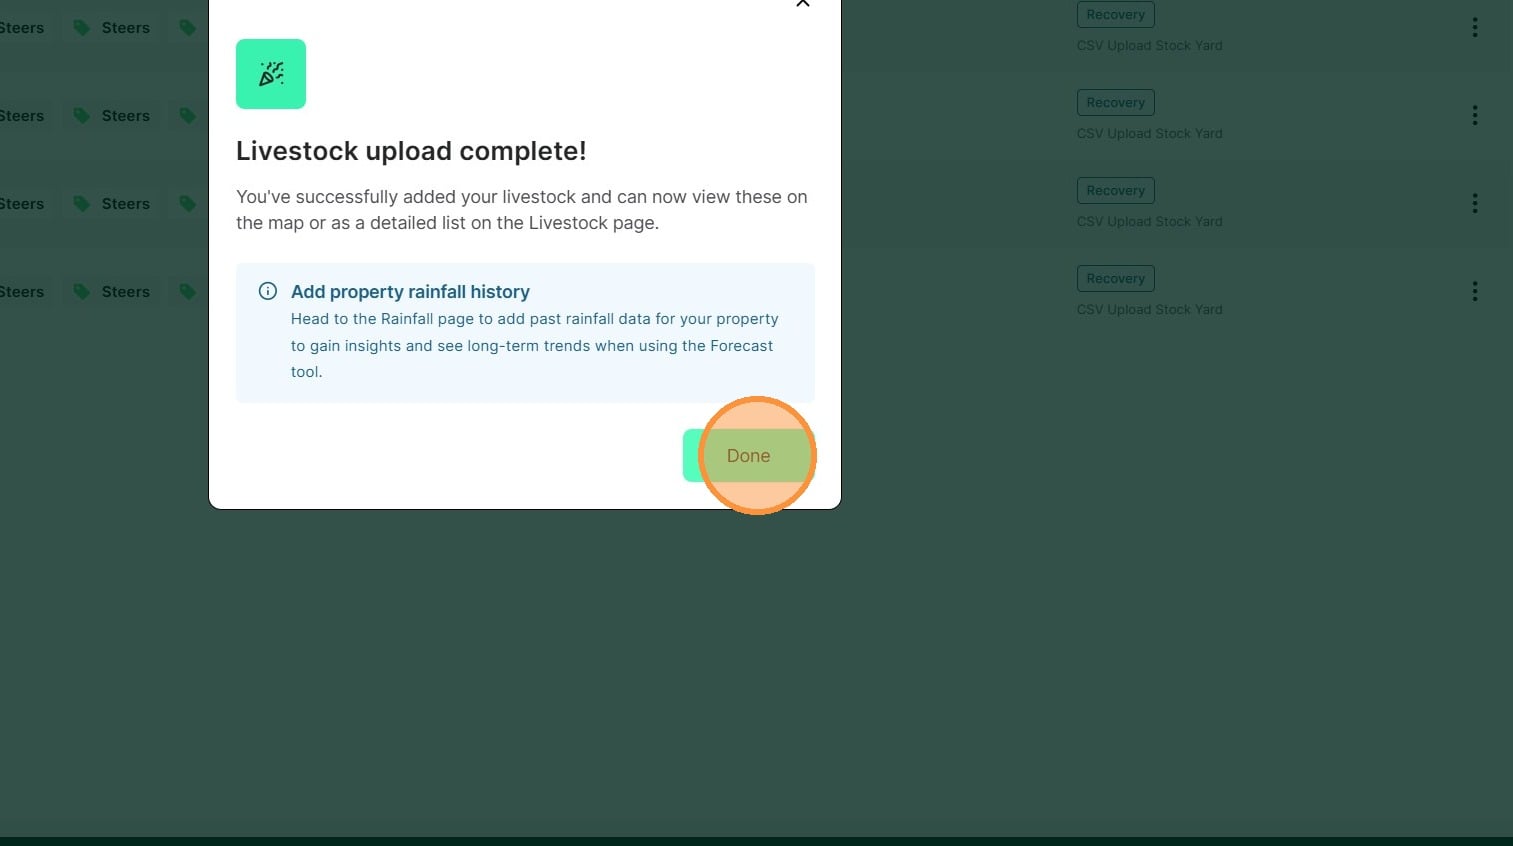
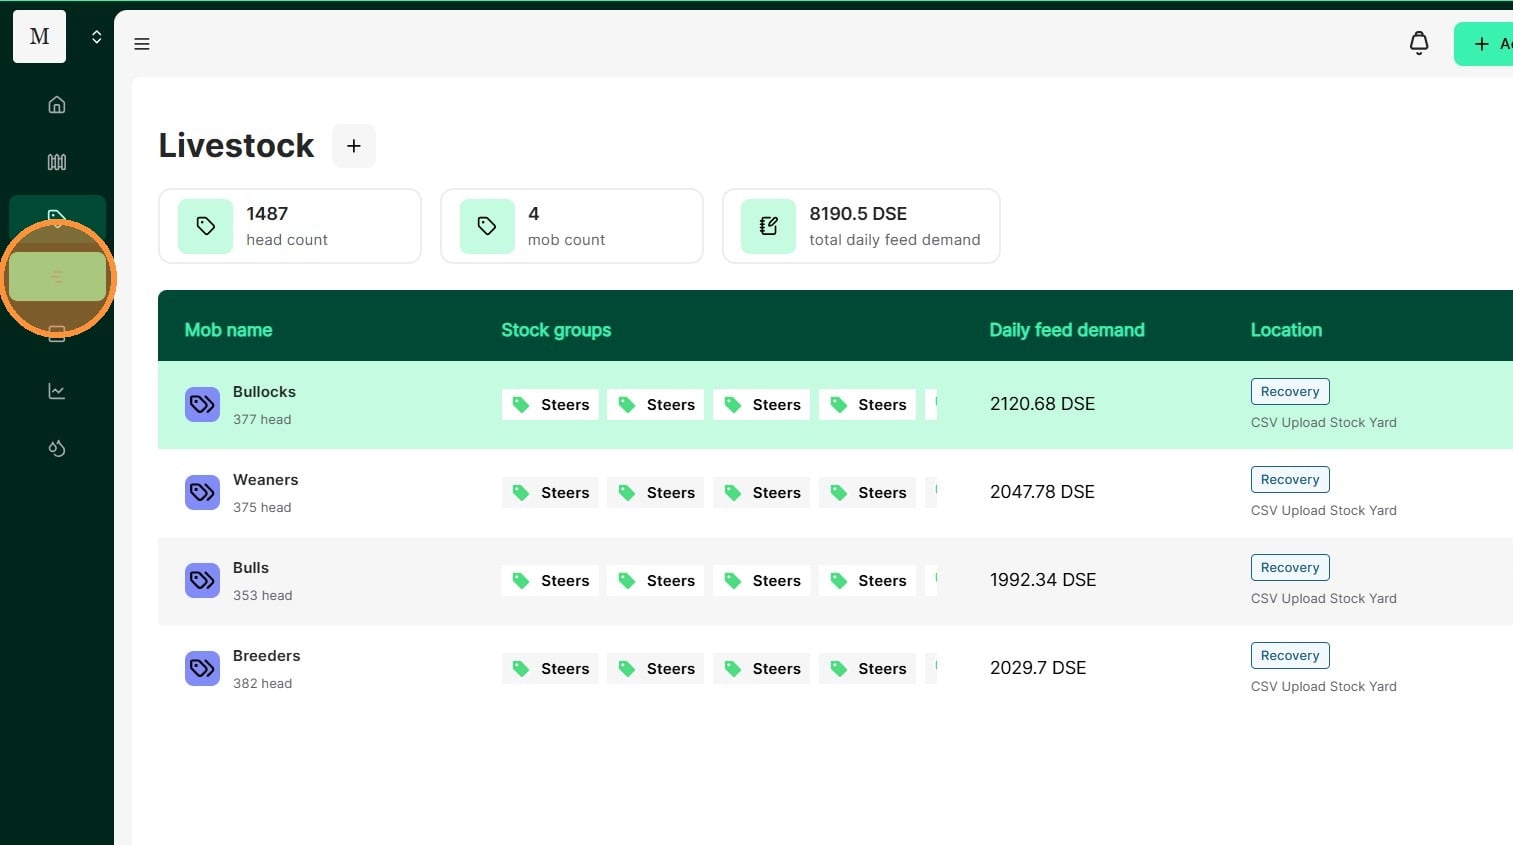
19. Livestock mobs are now available to view. Livestock are imported to a virtual stock yard. Create a back dated move record to import them to their current paddock.
Please note: the origin date set in the upload determines the earliest date you may create a mob move.

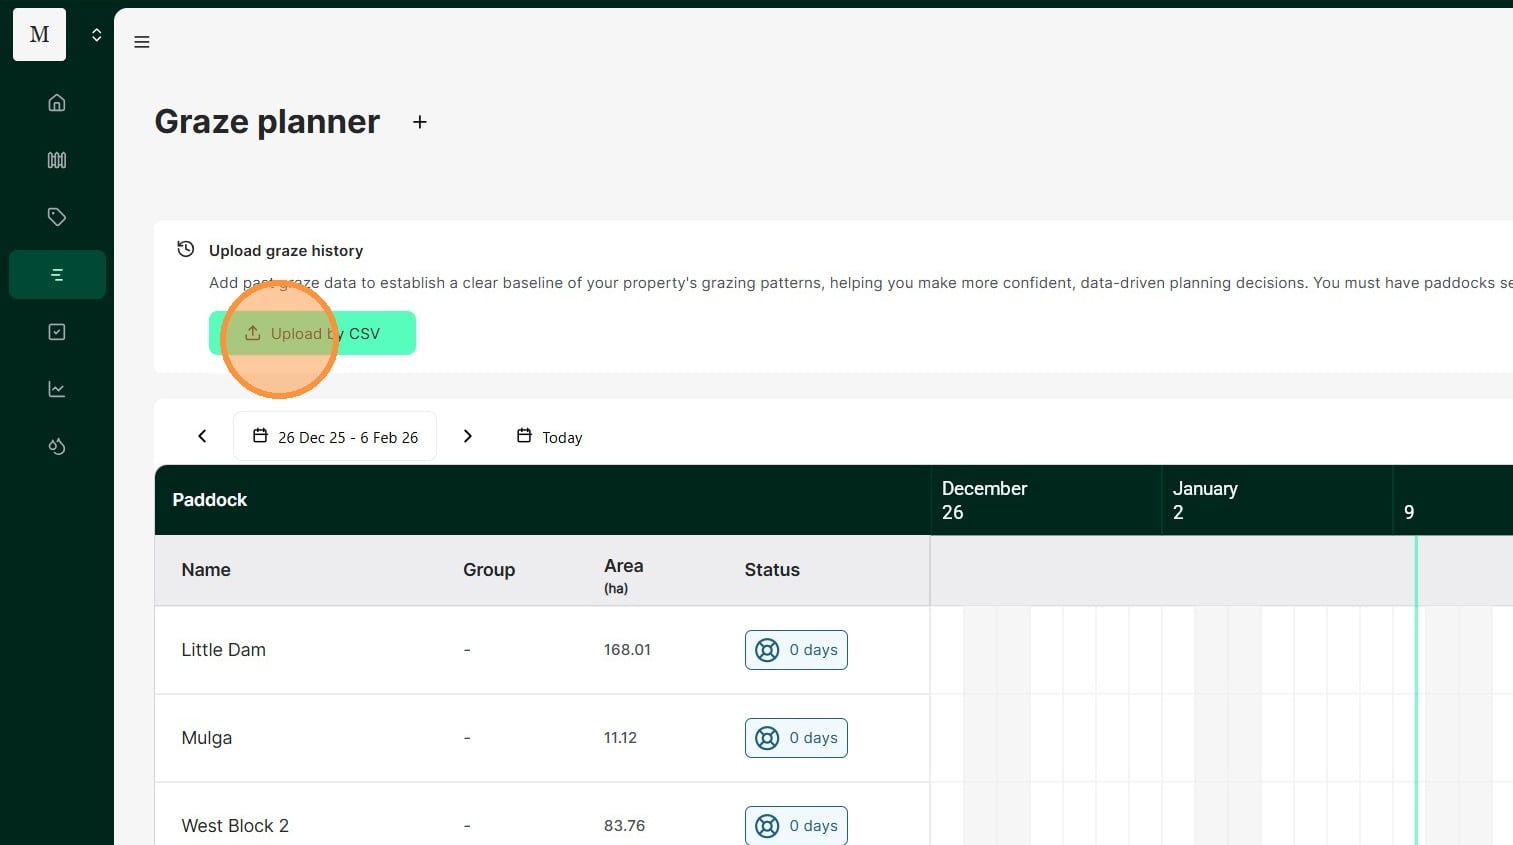
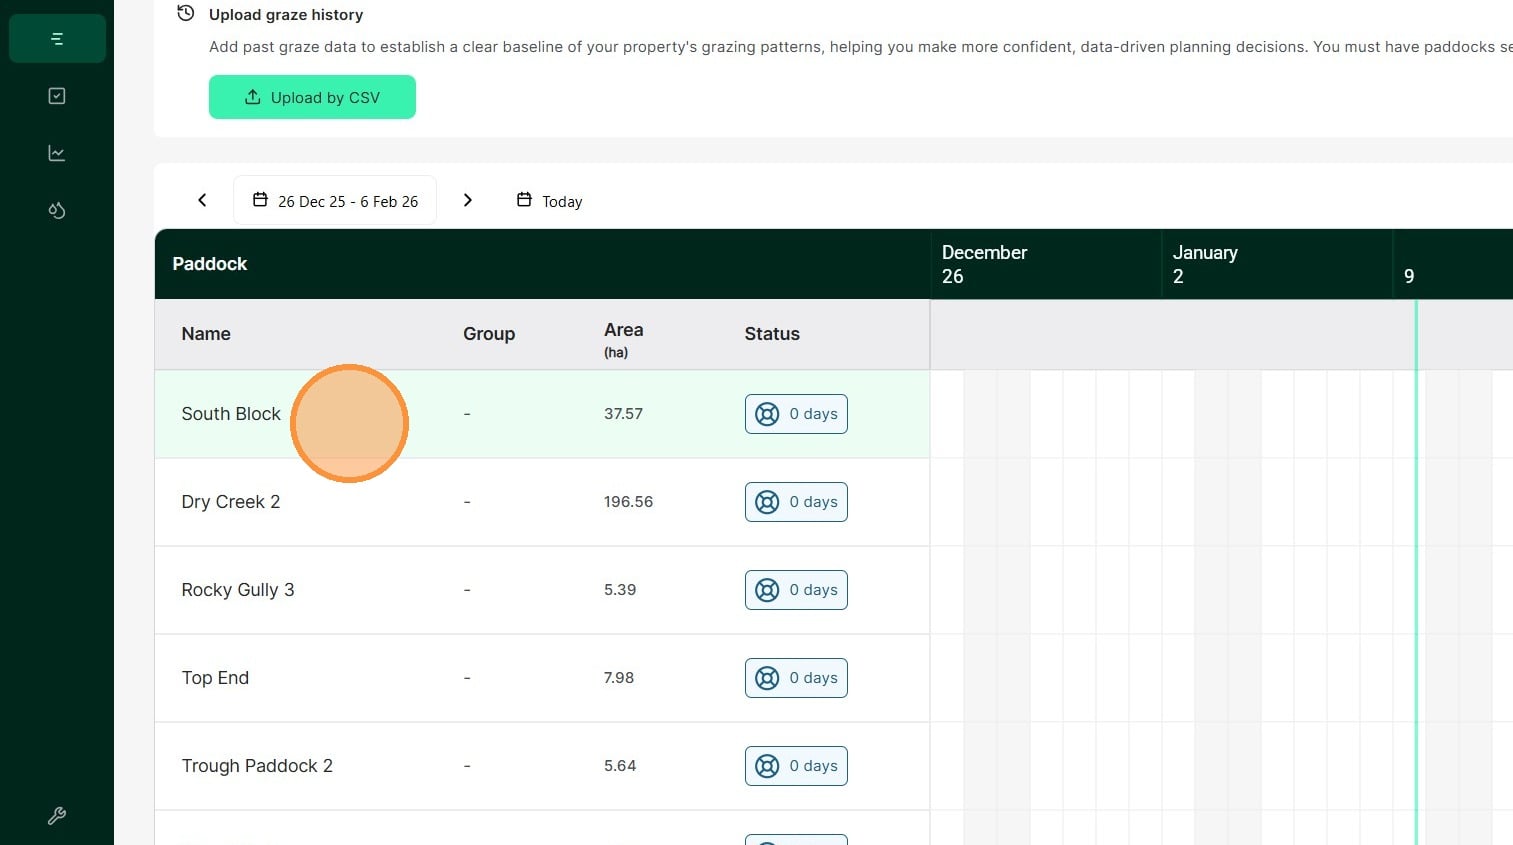
20. Importing graze history is optional. It is used to populate back dated historical grazes in the graze chart, or for the forecasting tools which are available in Management, Performance and Enterprise tiers. If you wish to import graze history, select the Graze Planner tab.
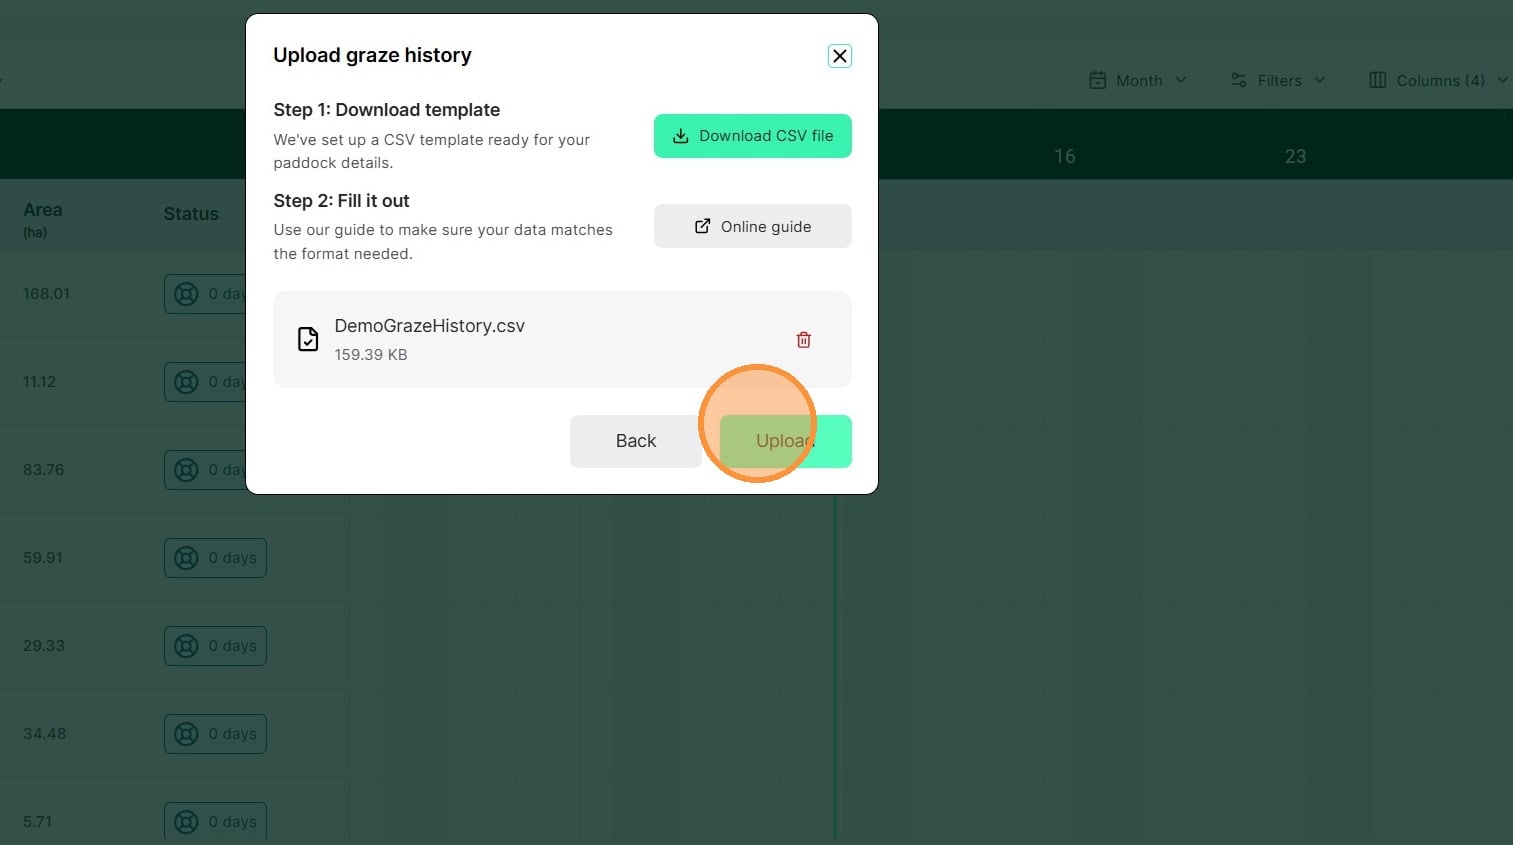
21. Click "Upload by CSV"
22. Drop your graze history CSV file in and click "Upload"
23. Once your file has successfully uploaded, select "Done"
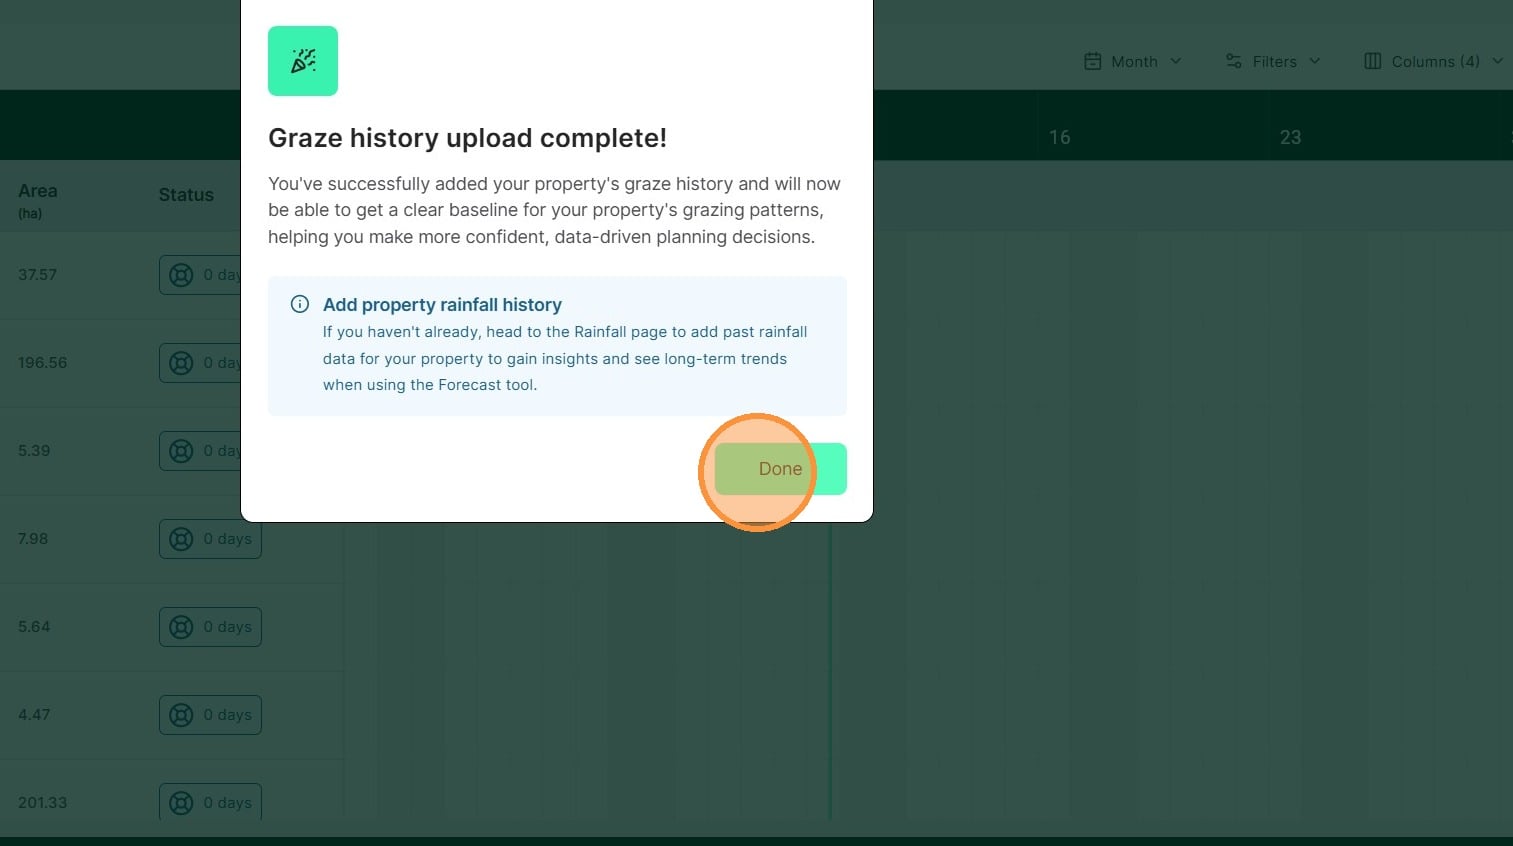
24. The Graze Planner is now available. Historical grazes do not integrate with the livestock management records and cannot be modified, only deleted.
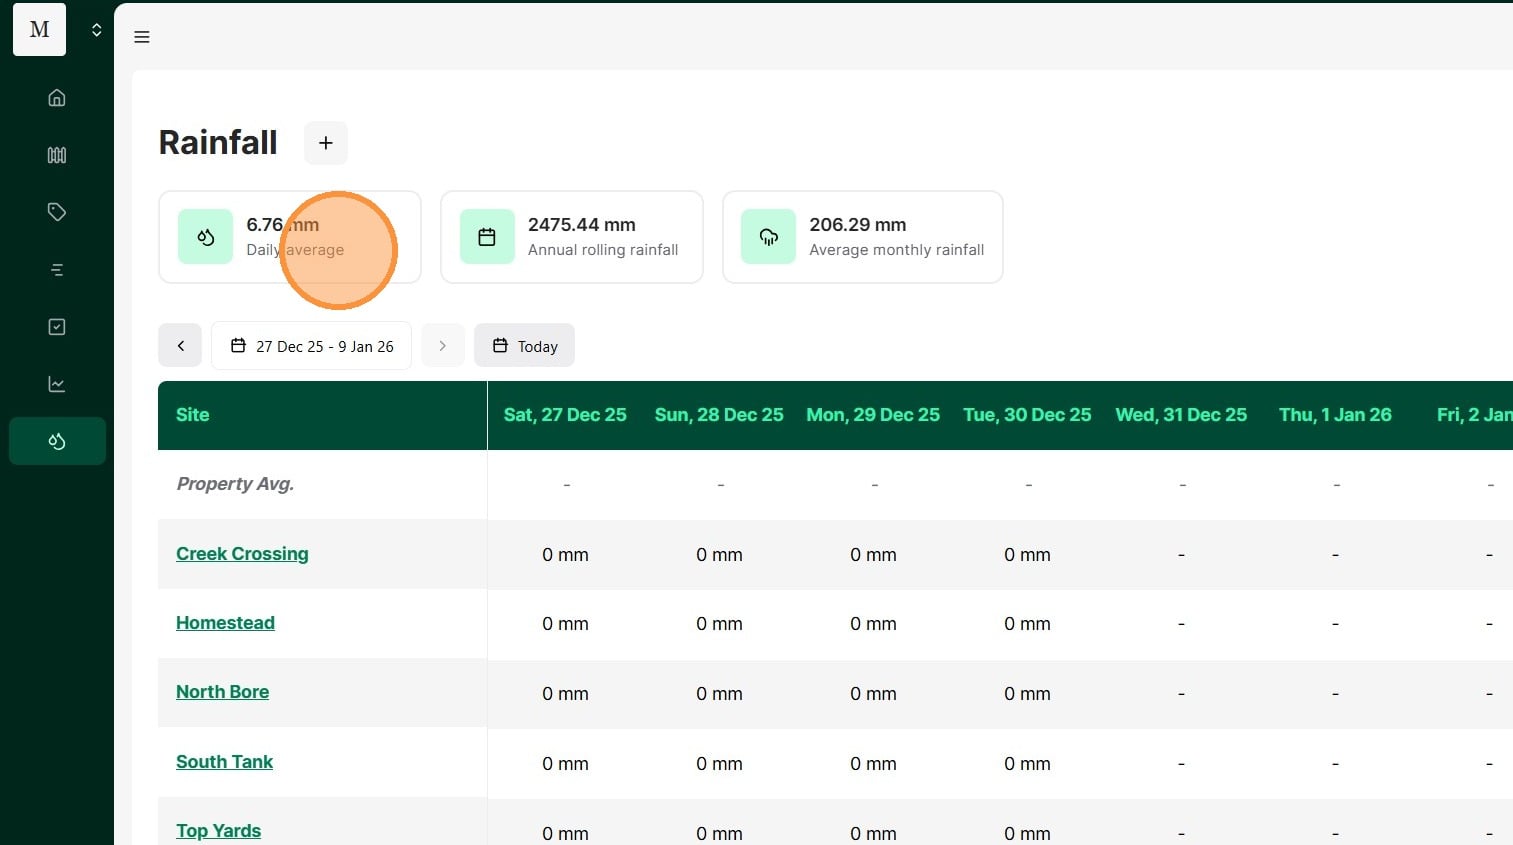
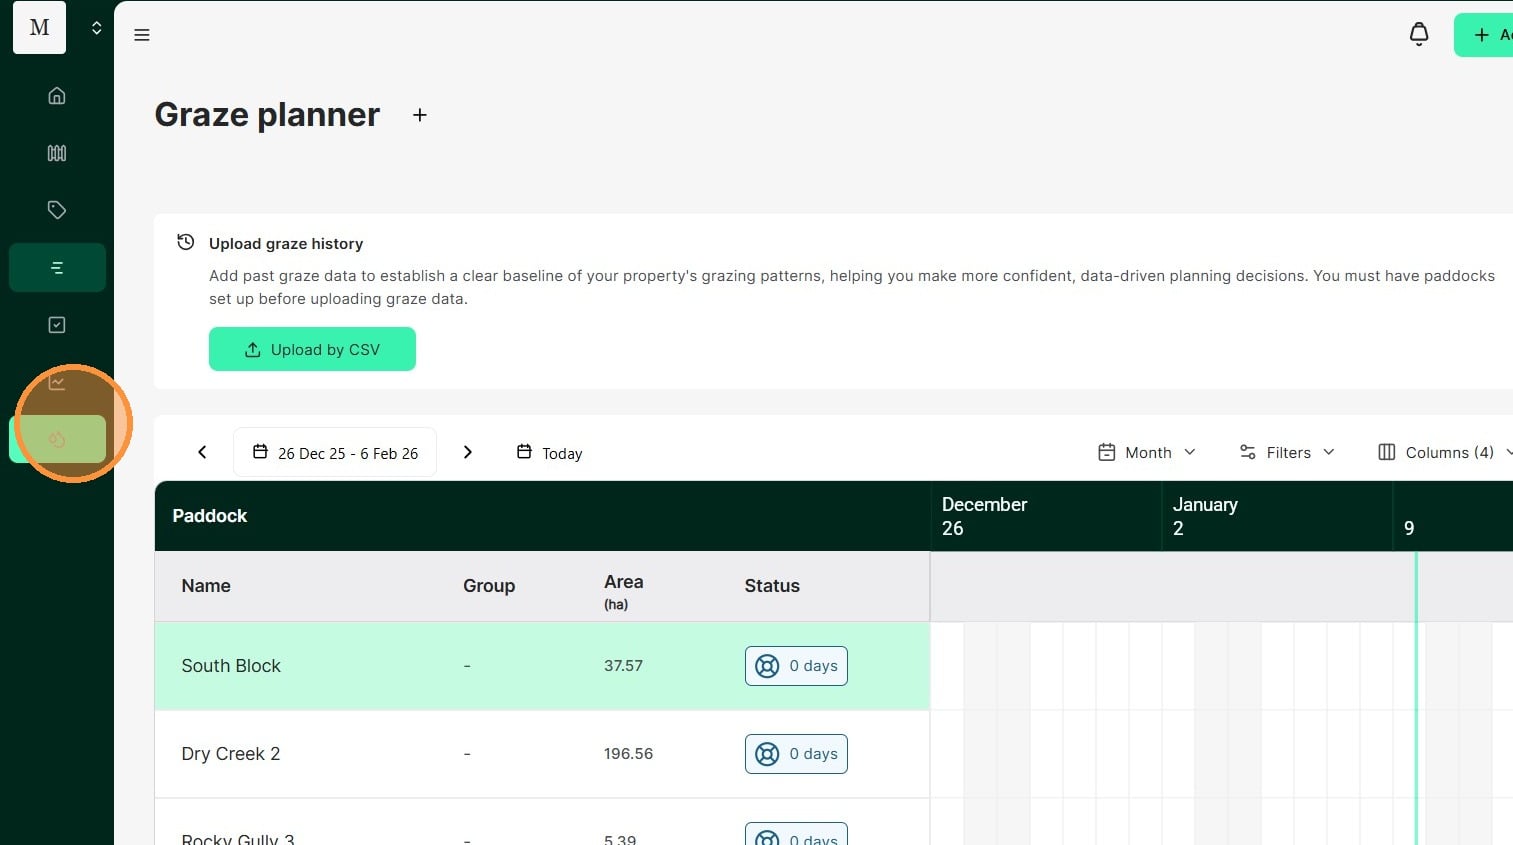
25. Select the Rainfall tab.
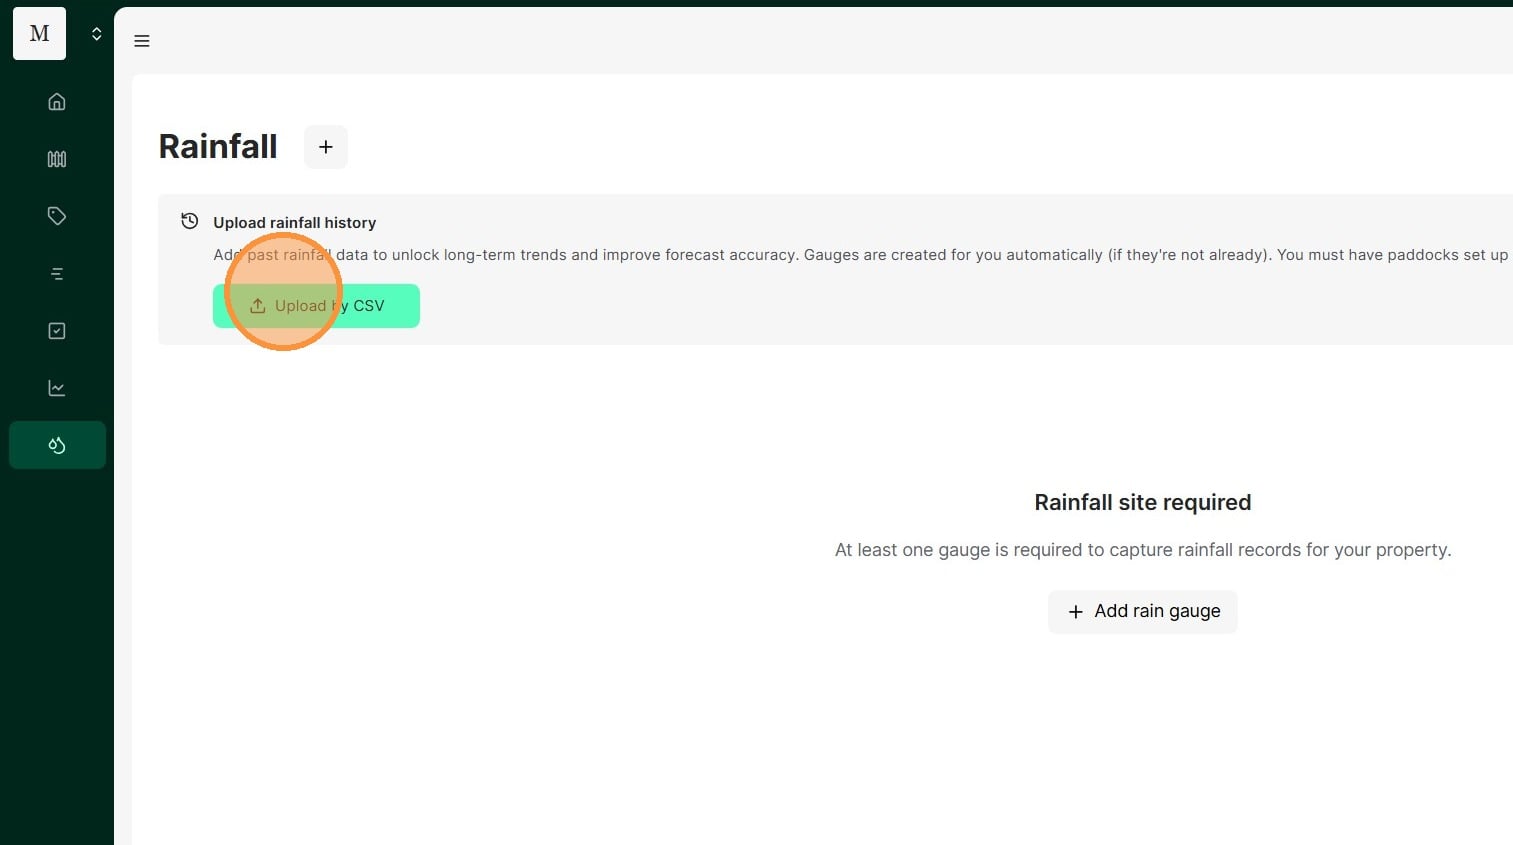
26. Select "Upload by CSV"
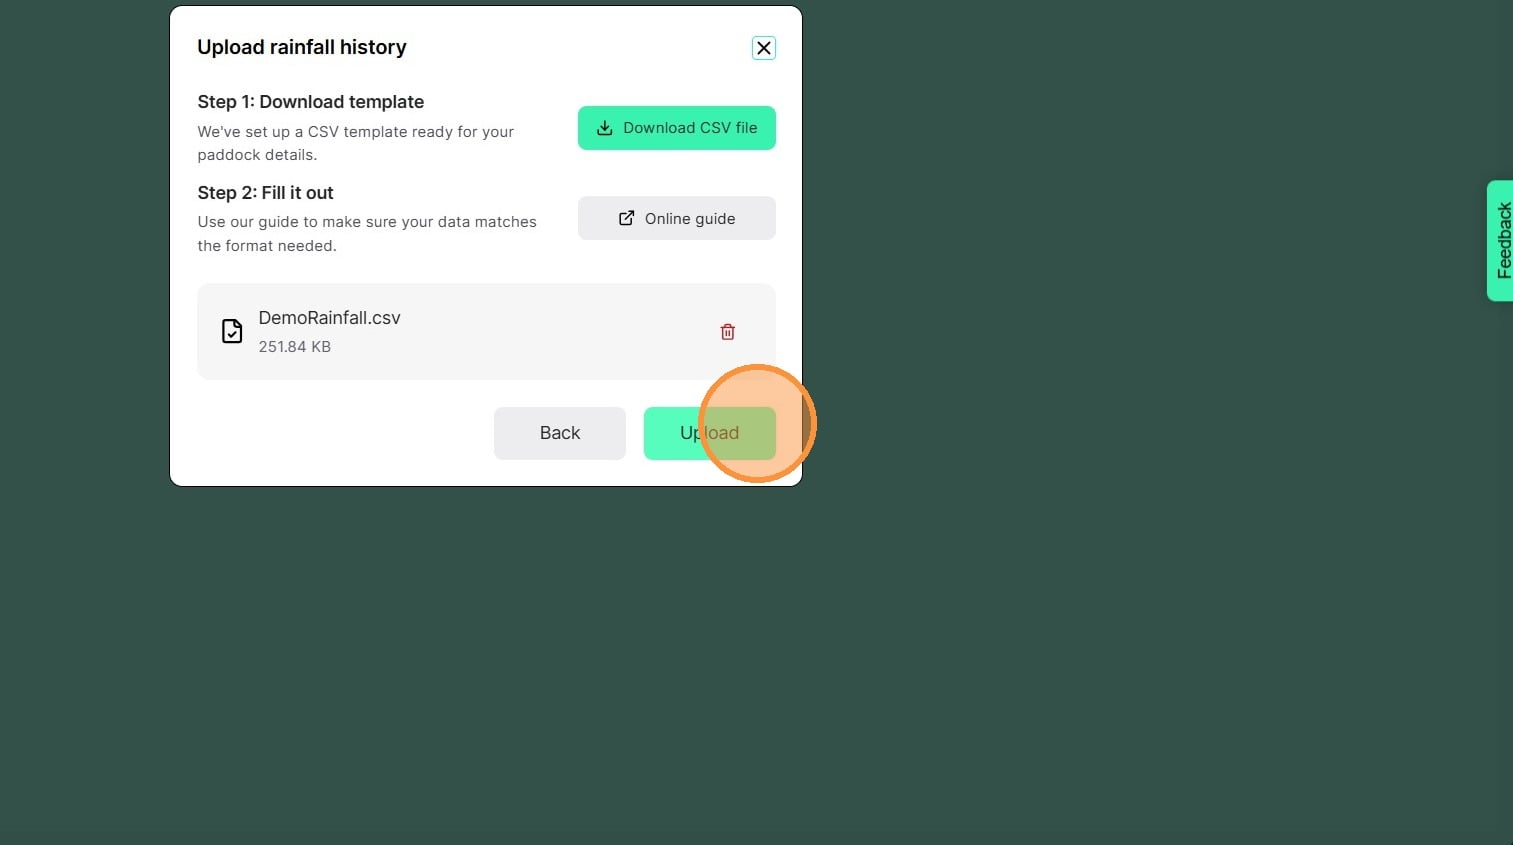
27. Attach your rainfall CSV file in and select "Upload"
28. Once your file has successfully uploaded, select "Done"
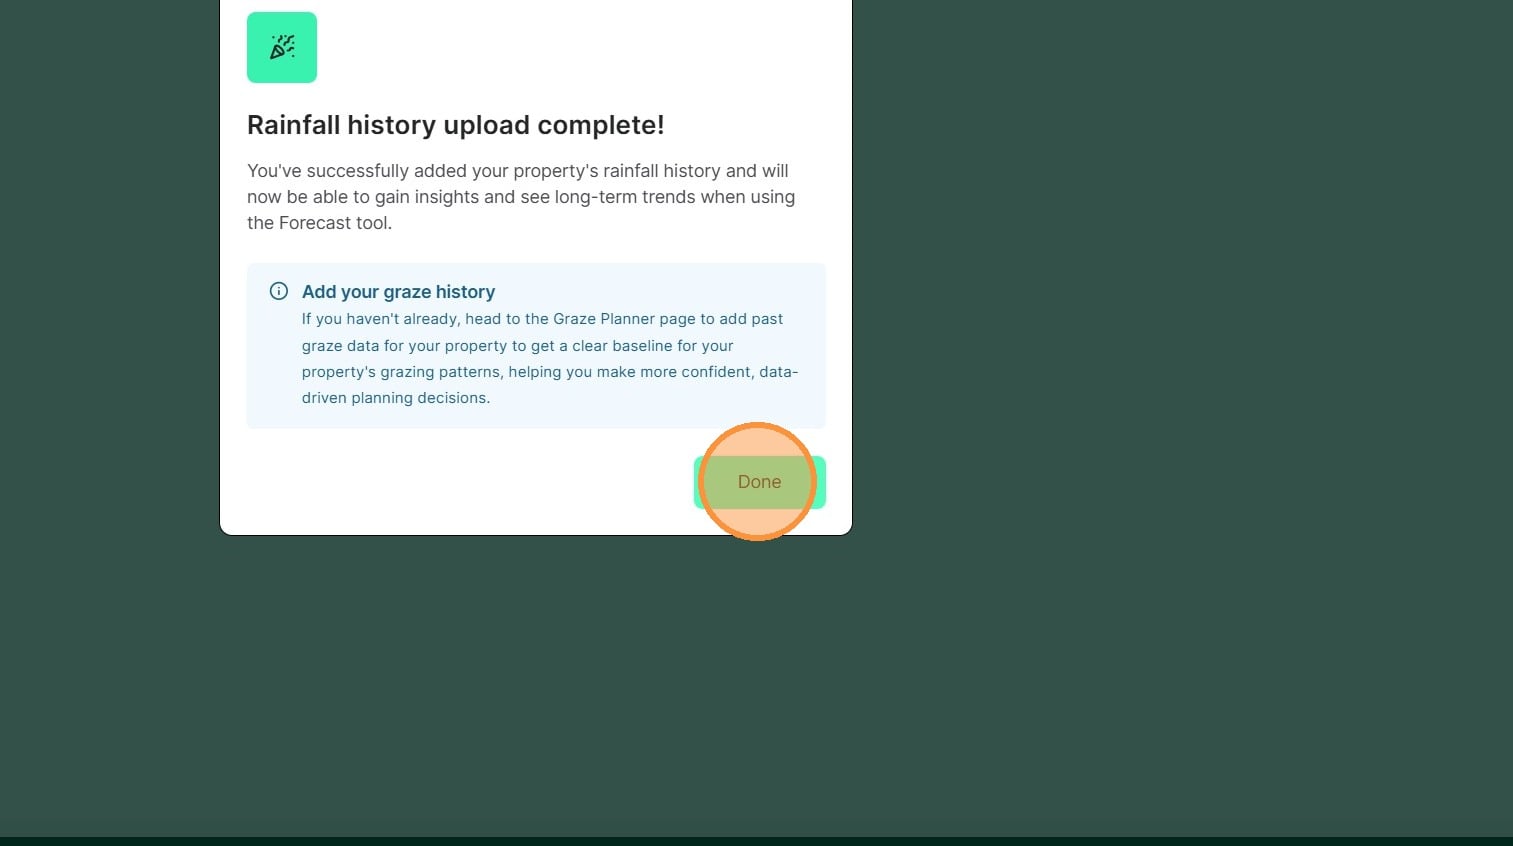
29.Historical rainfall records have now been imported and can calculate your long term averages.