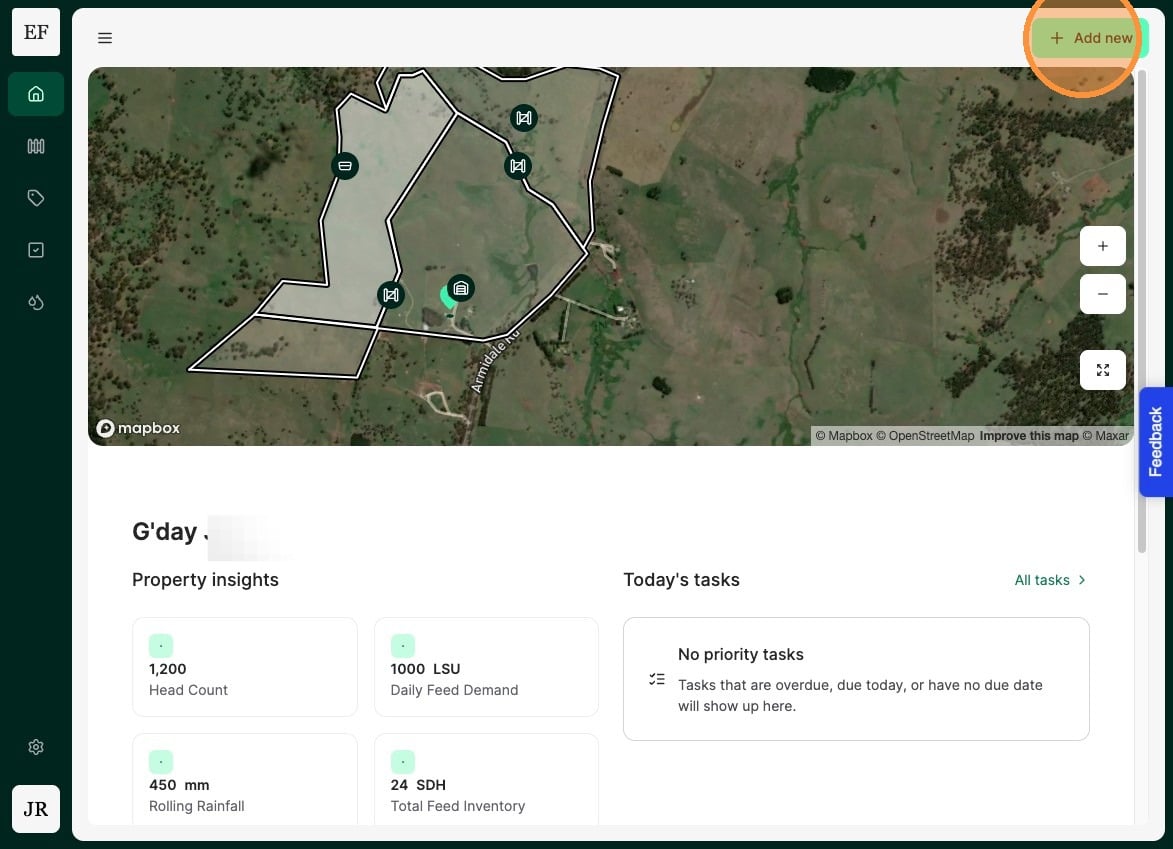
1. From the Home Dashboard Select "Add new"
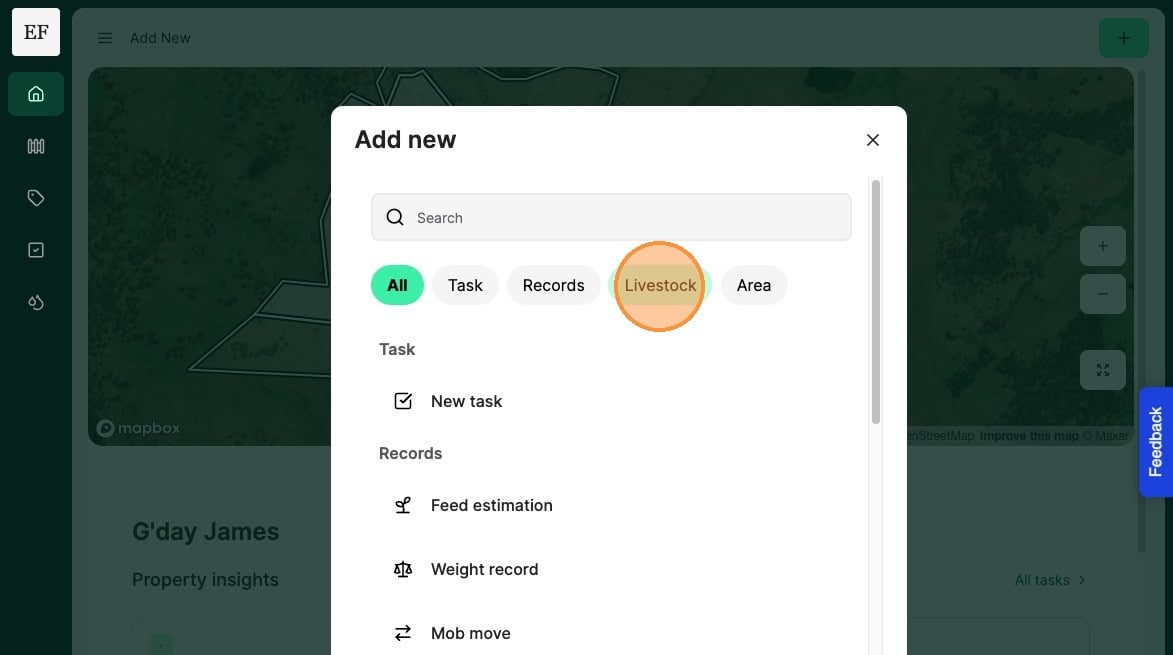
2. Select "Livestock"
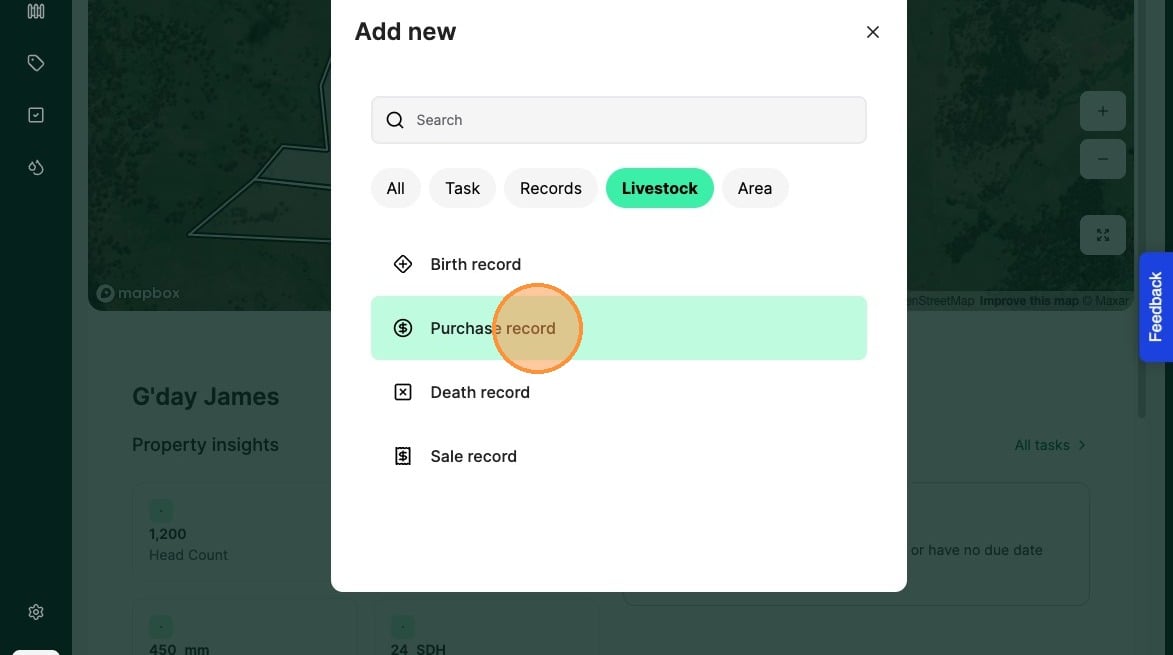
3. Select "Purchase record"
4. Record the animal "Purchase date"
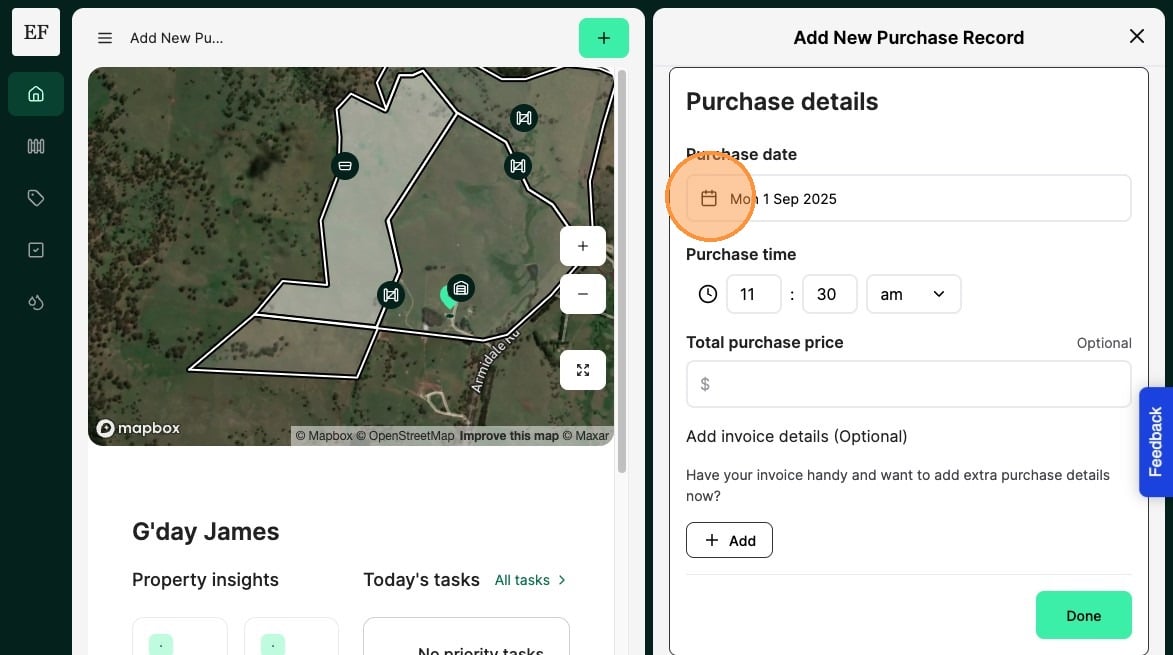
5. Optionally record the "Total purchase price" and/or include the invoice
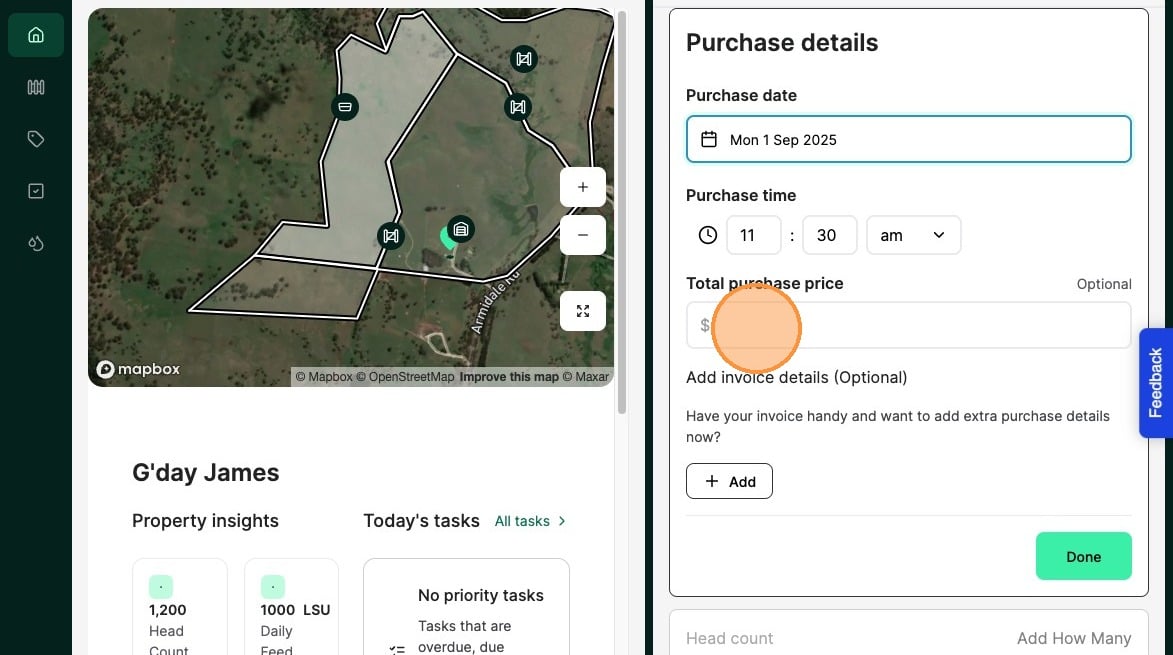
6. Select "Done"
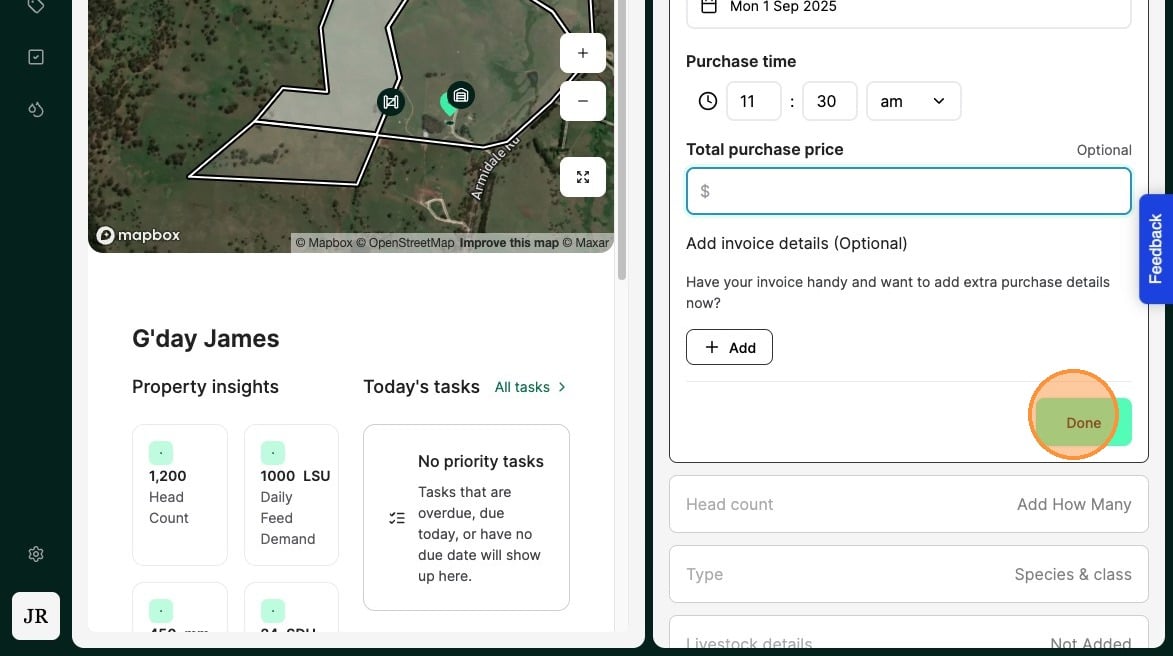
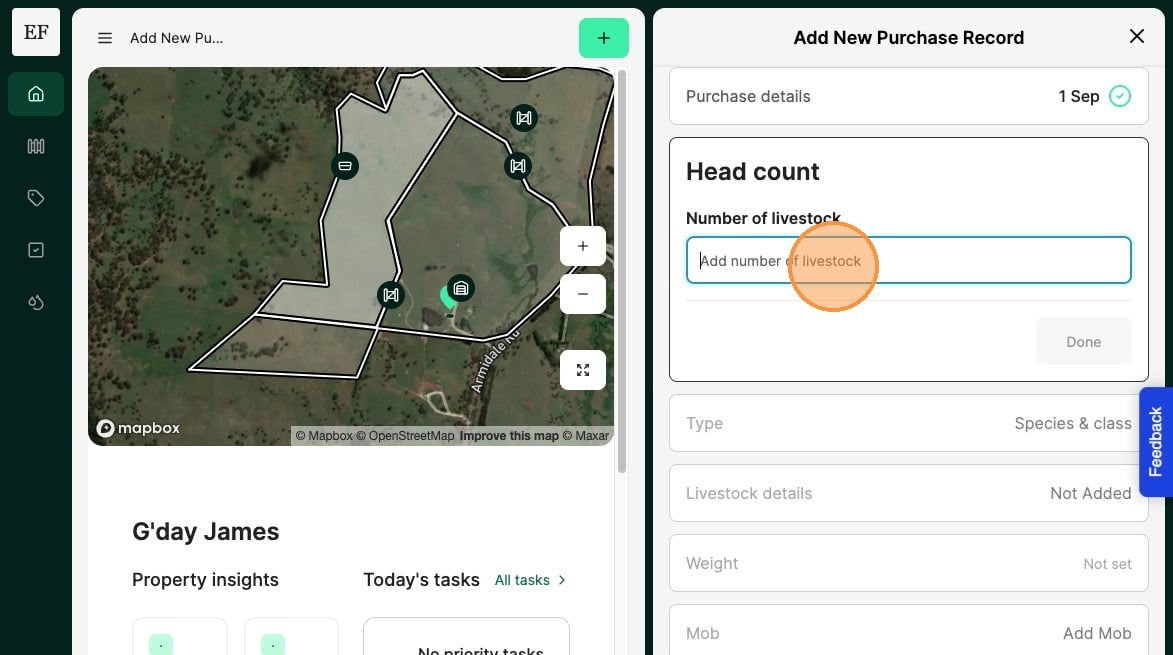
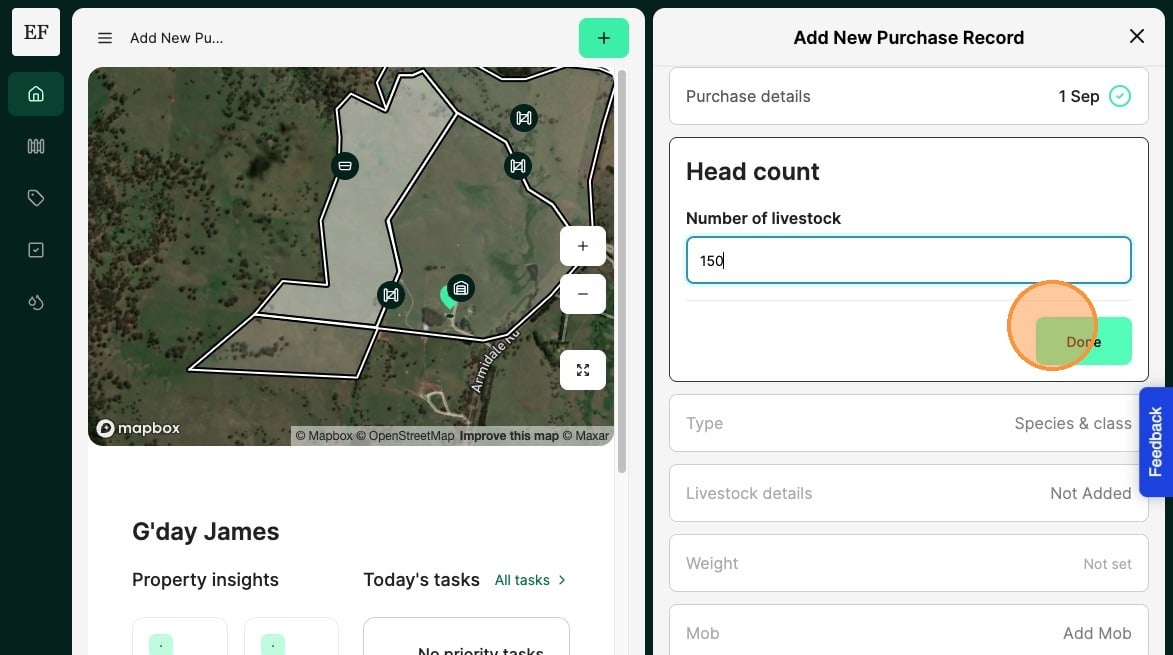
7. Select "Head count"
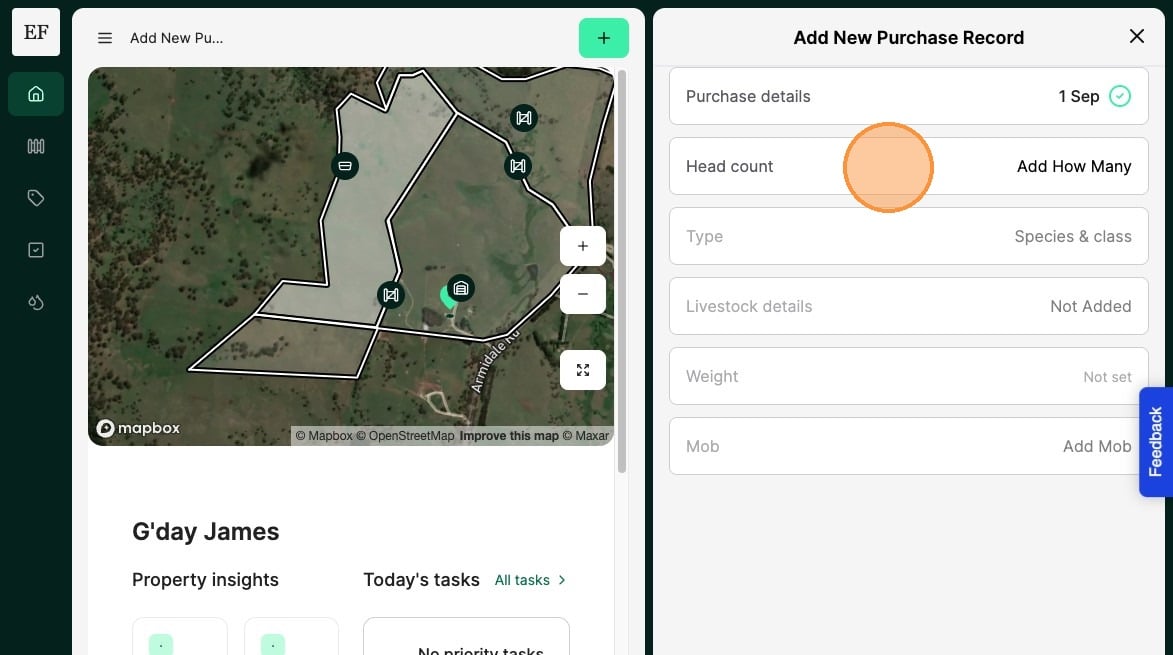
8. Record the number of livestock purchased
9. Select "Done"
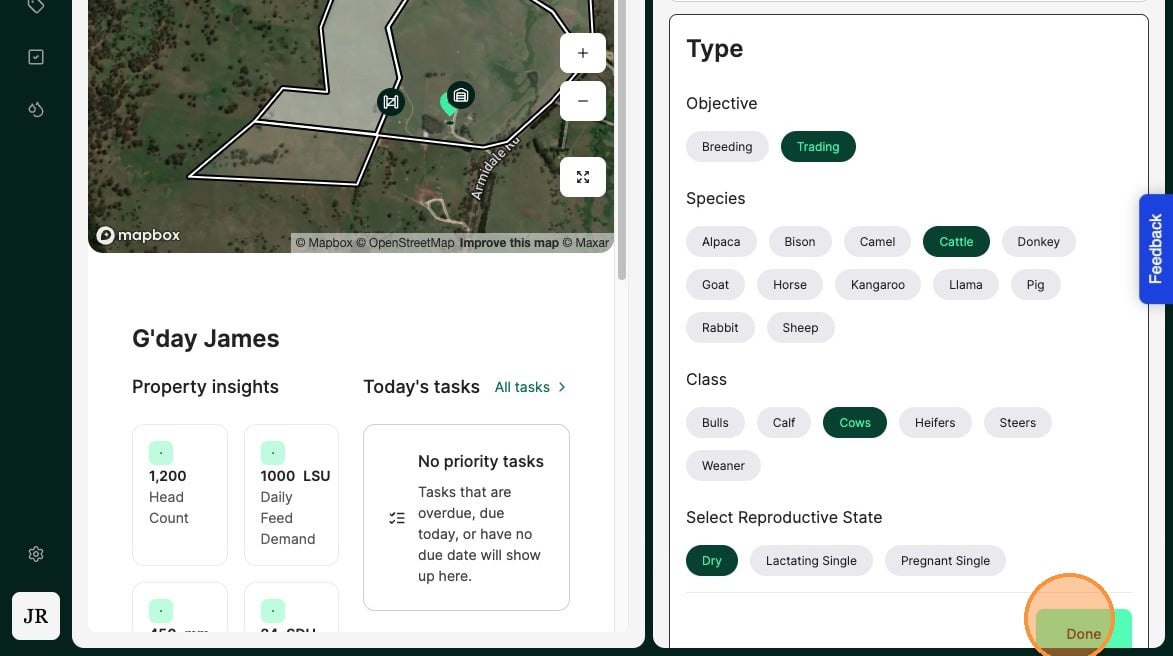
10. Select "Type"

11. Record the Animals "Objective","Species", "Class" and "Breed"
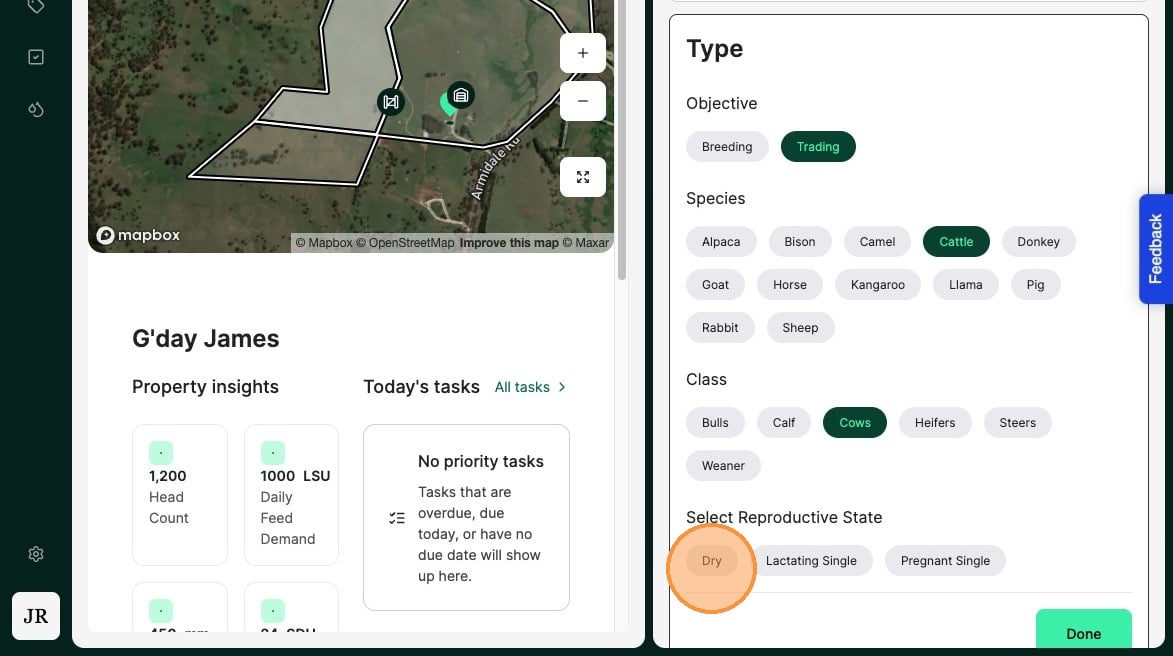
12. Select "Done"
13. Select "Livestock details"
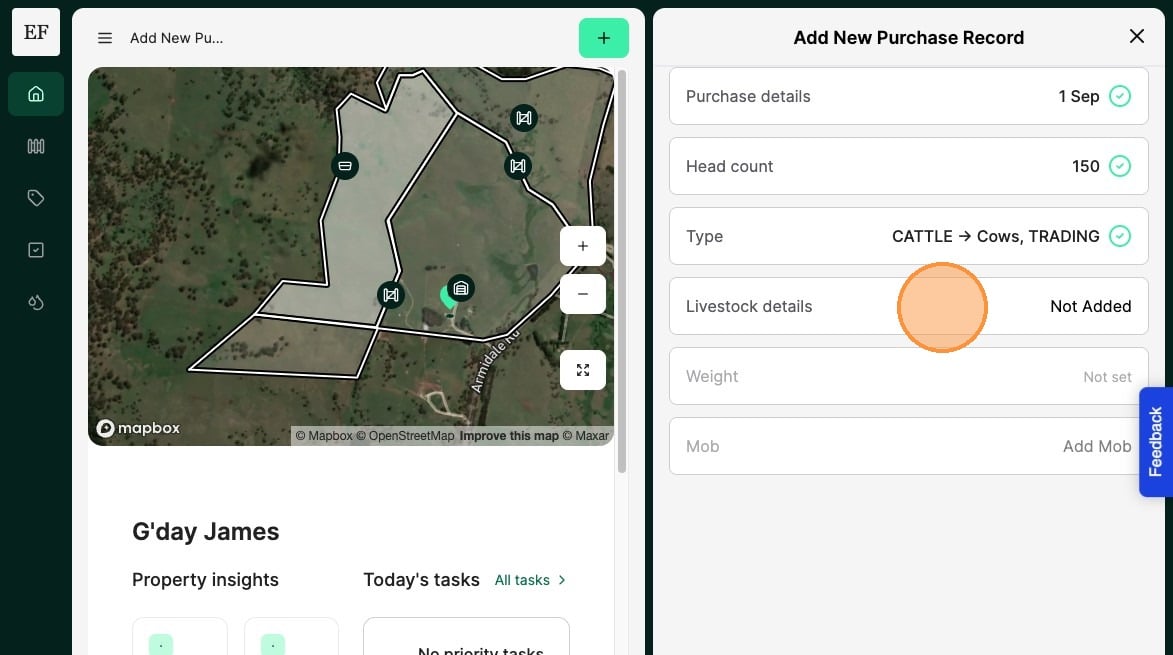
14. Record the arrival date of the purchased livestock
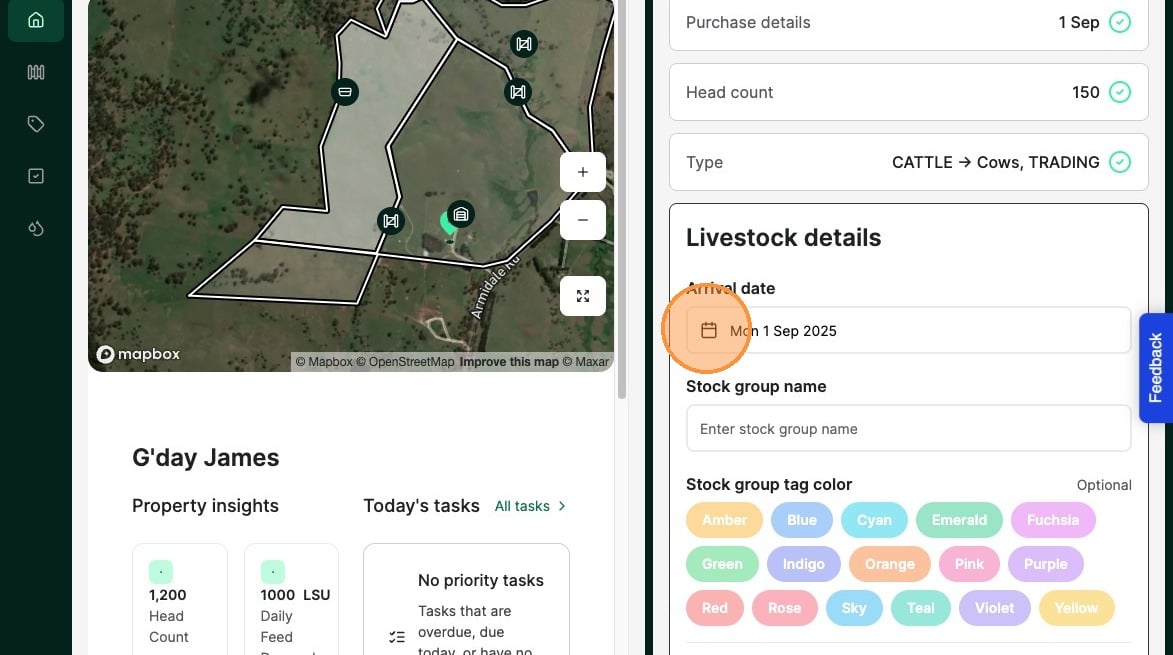
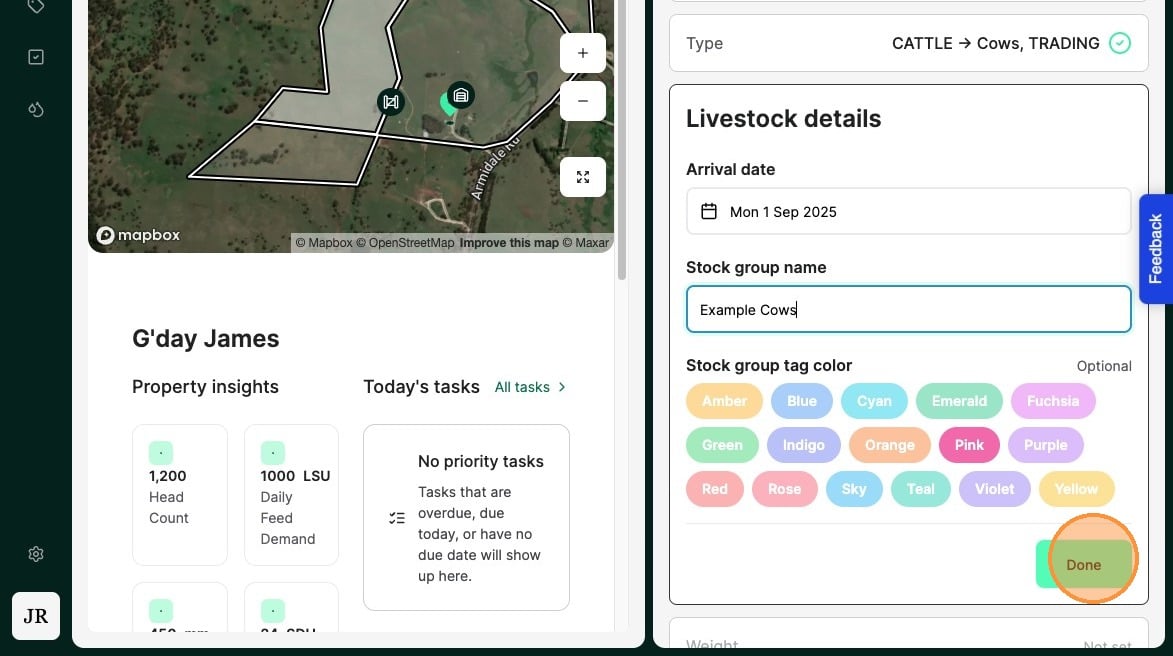
15. Create a stock group name
Tip: Use a naming convention that will make sense to you, eg: 2025 August Emerald Angus Steers
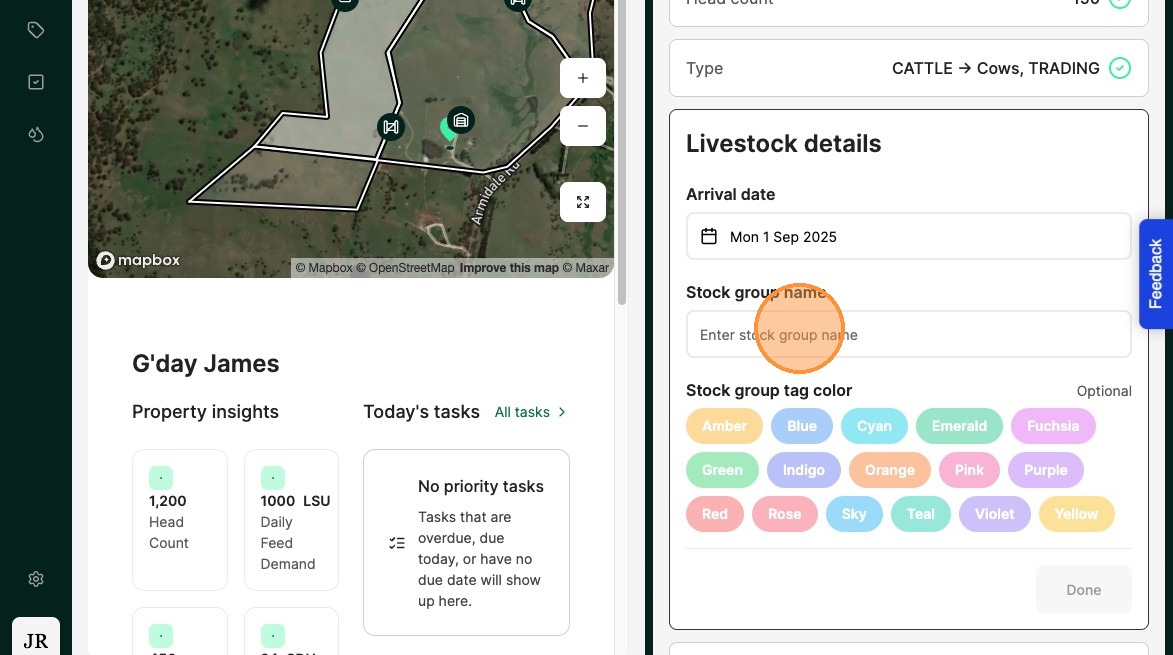
16. Optionally Add a colour tag to the Stock group

17. Select "Done"
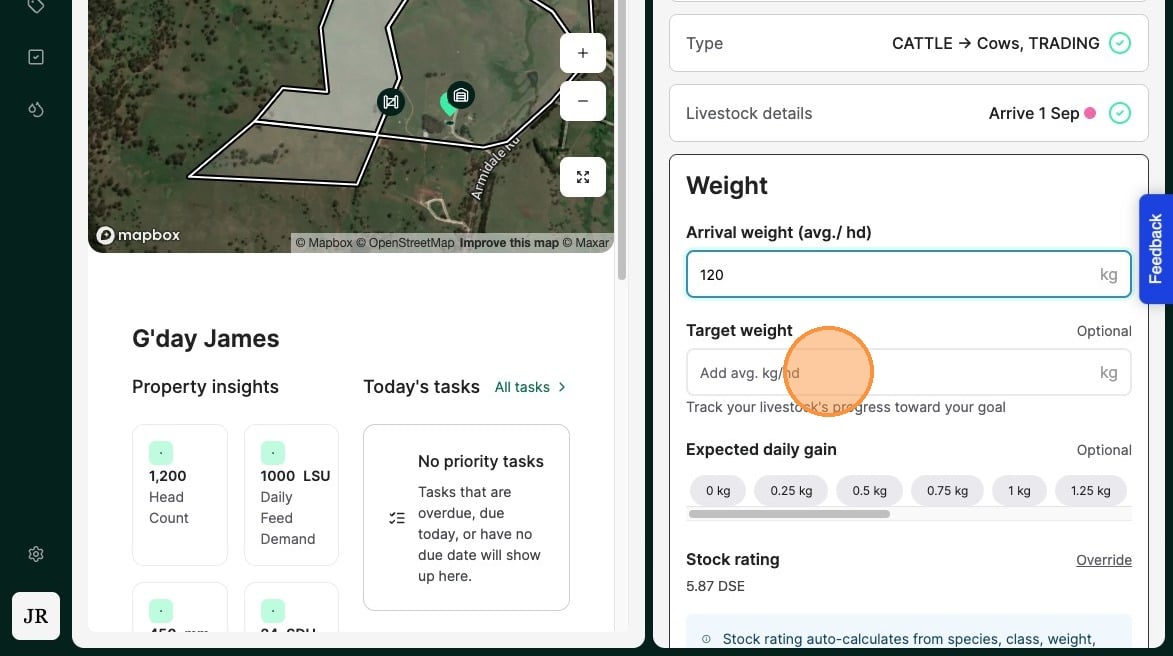
18. Select "Weight"
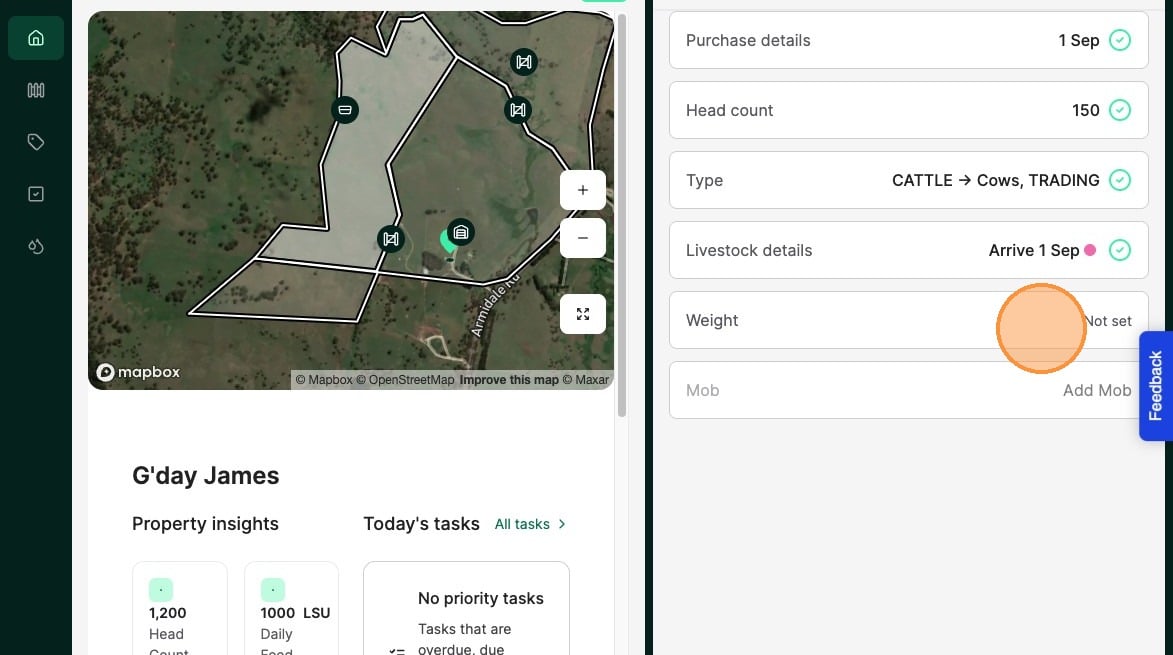
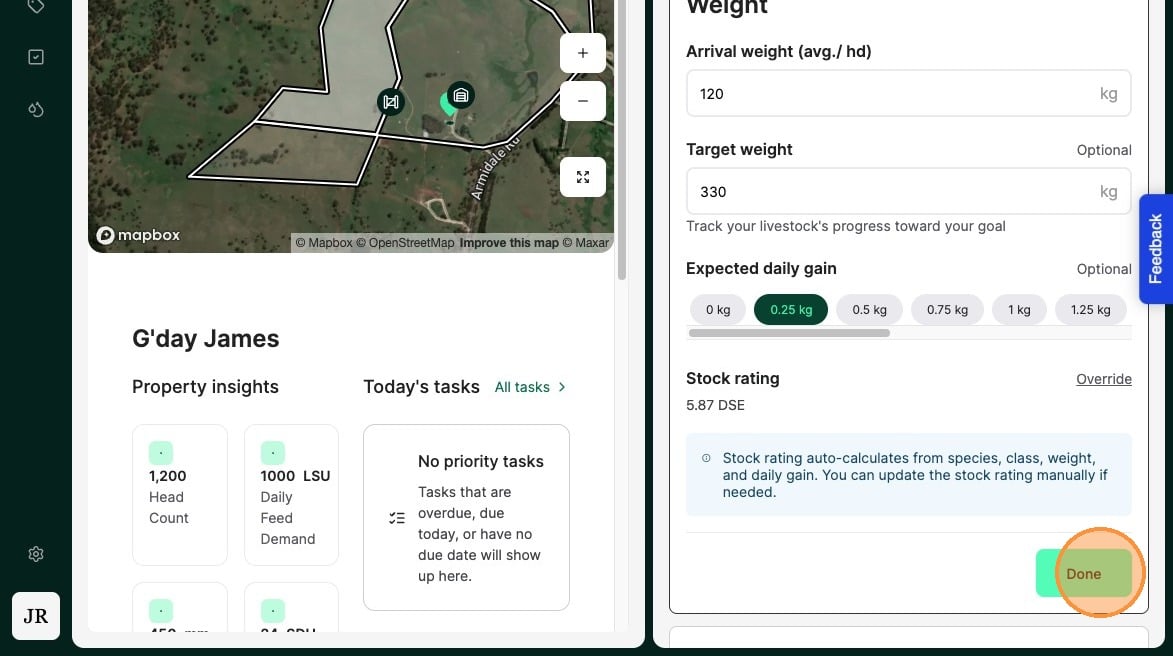
19. Set the animals “Arrival weight” and "Target weight" and the desired "daily gain" The daily gain can be an estimate, and contributes to the Animal Rating.
20. Select "Done"
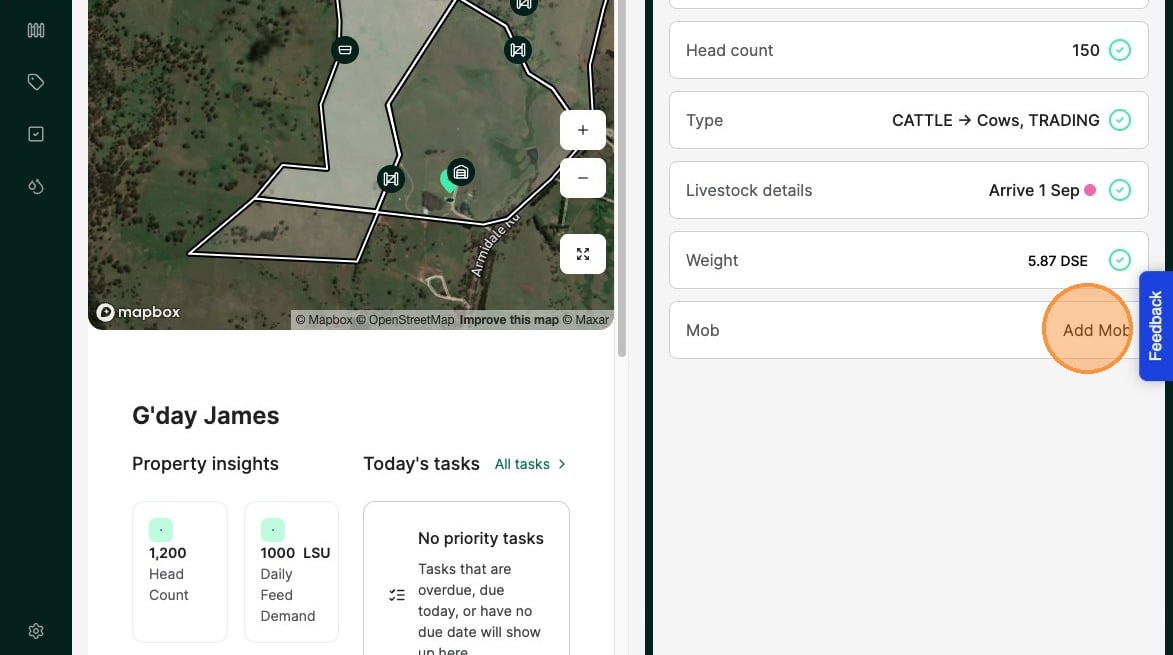
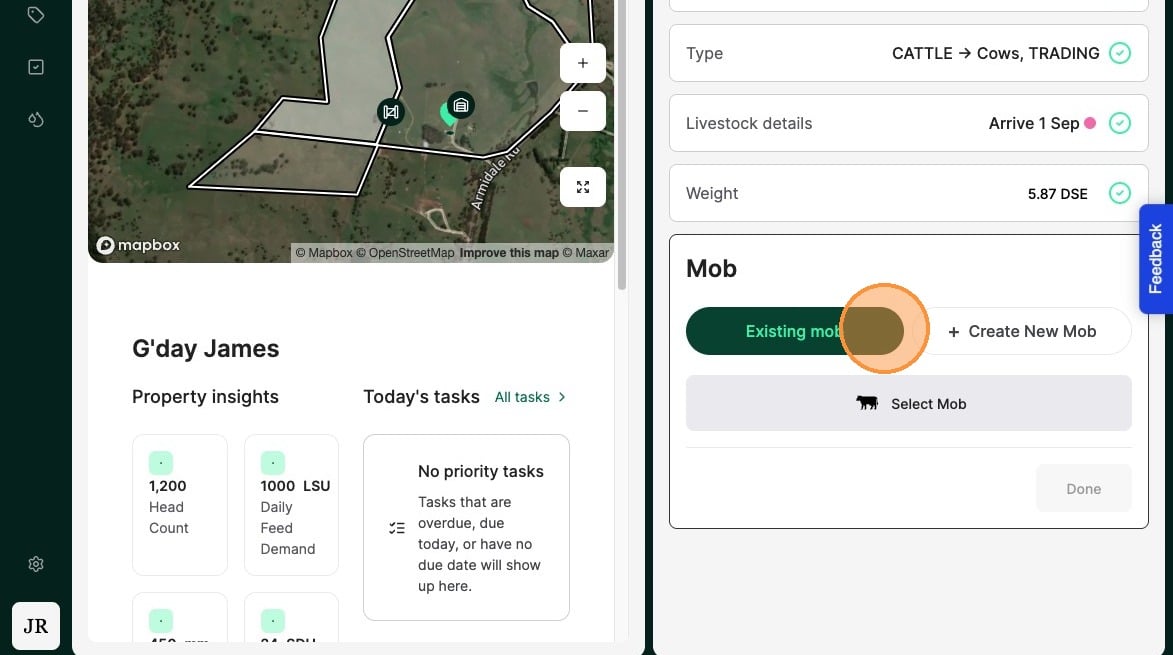
21. Select "Add Mob"
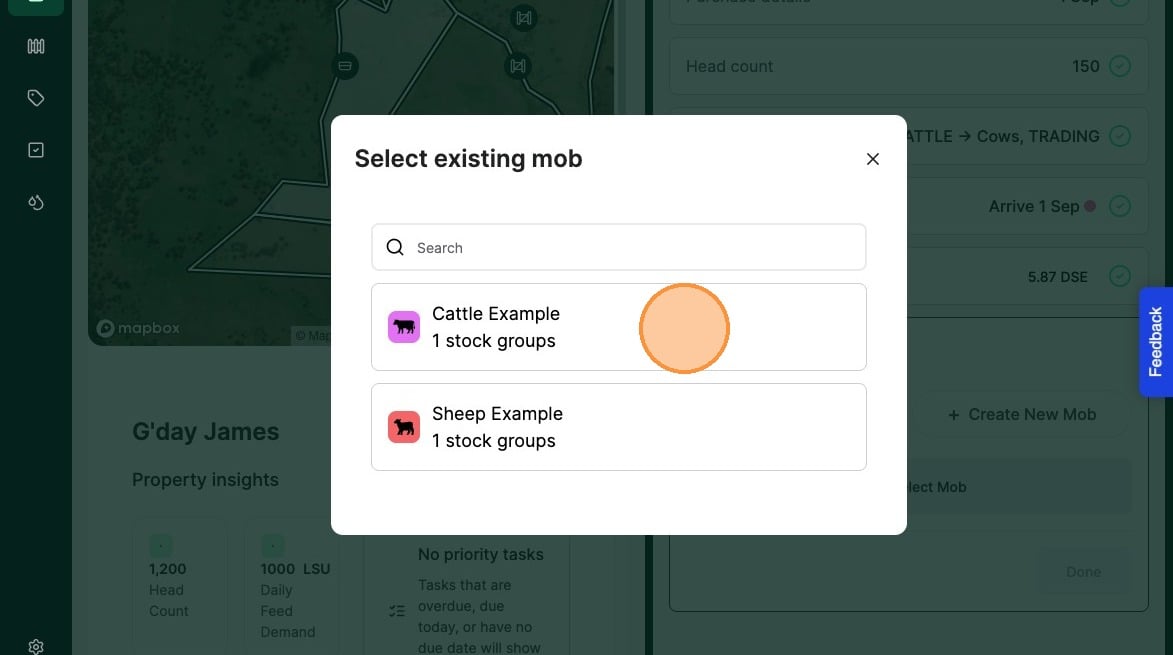
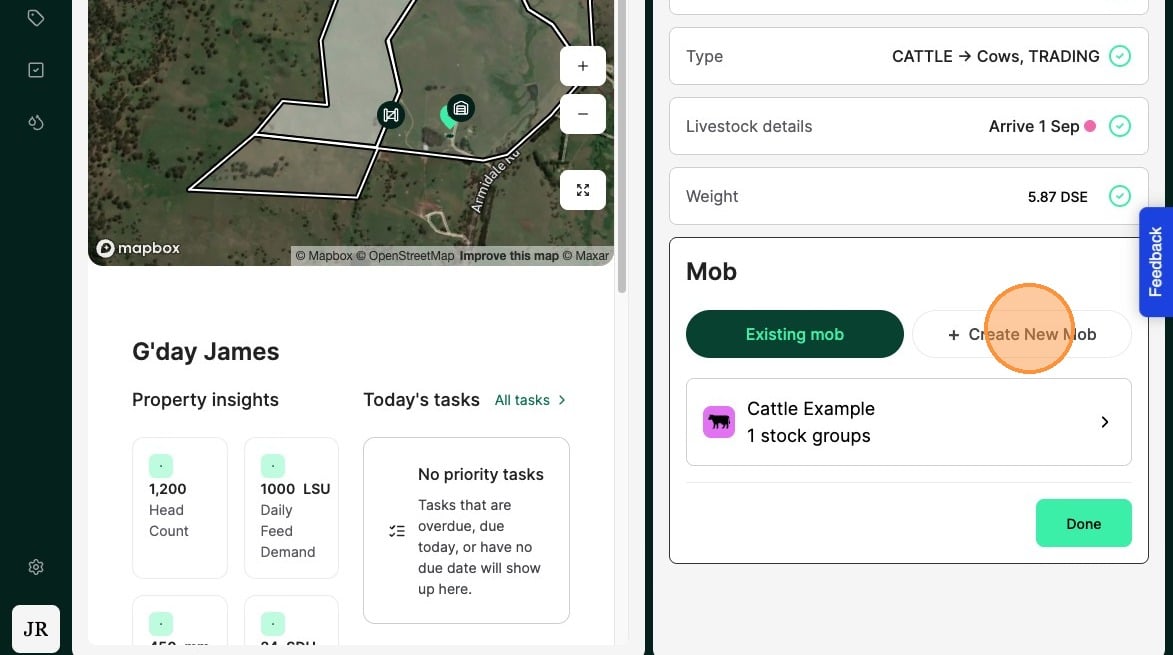
22. Add the animal to an "Exisiting mob" or select "Create New Mob"
23. If adding the animal to an "existing mob" select from the mobs available

24. Select the Mob you wish to add the livestock into.
25. If creating a new mob for the animal select "Create New Mob"
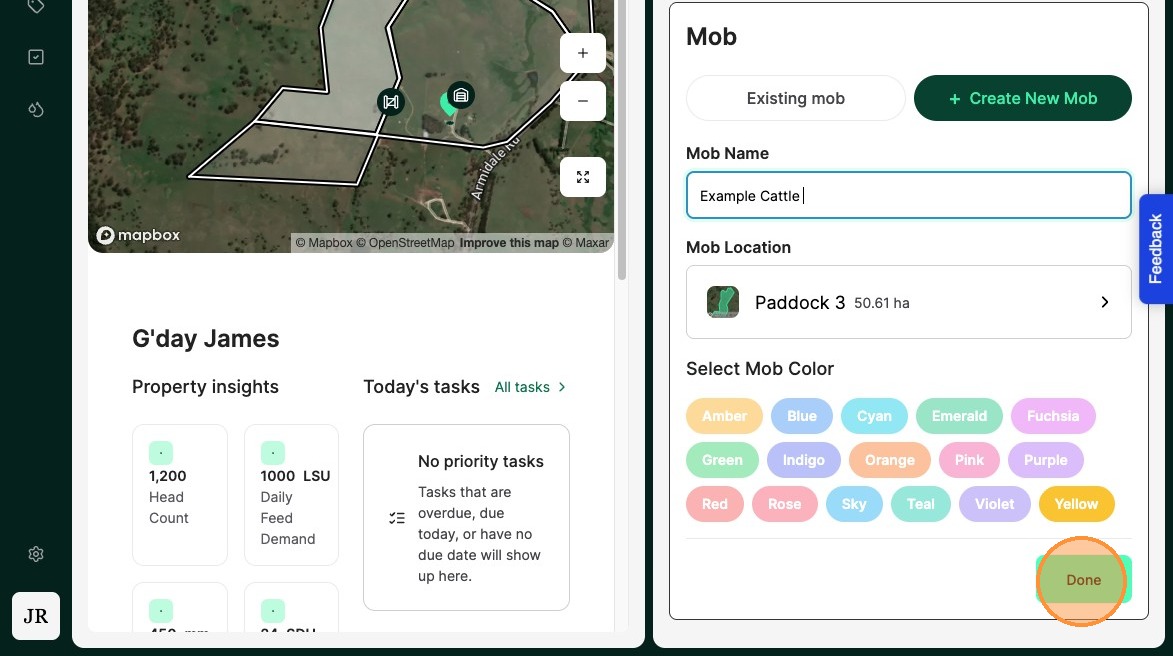
26. Create the new "Mob name"
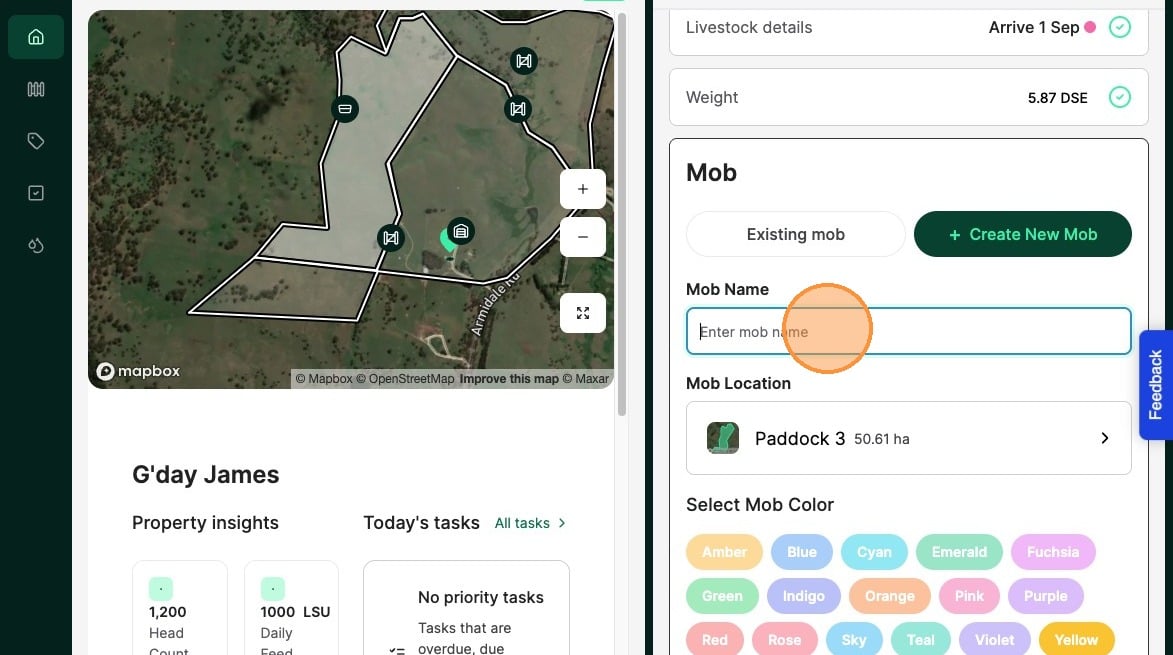
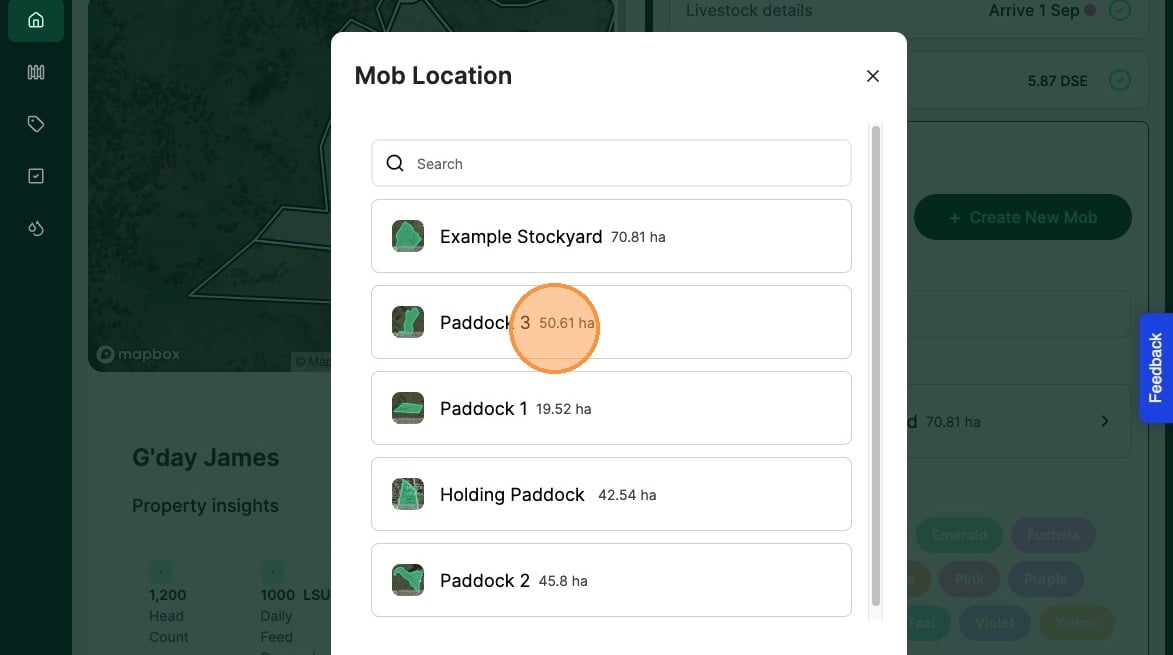
27. Select the paddock location of the new mob

28. Select the Paddock the Mob will be located in.
29. Add a mob colour if applicable
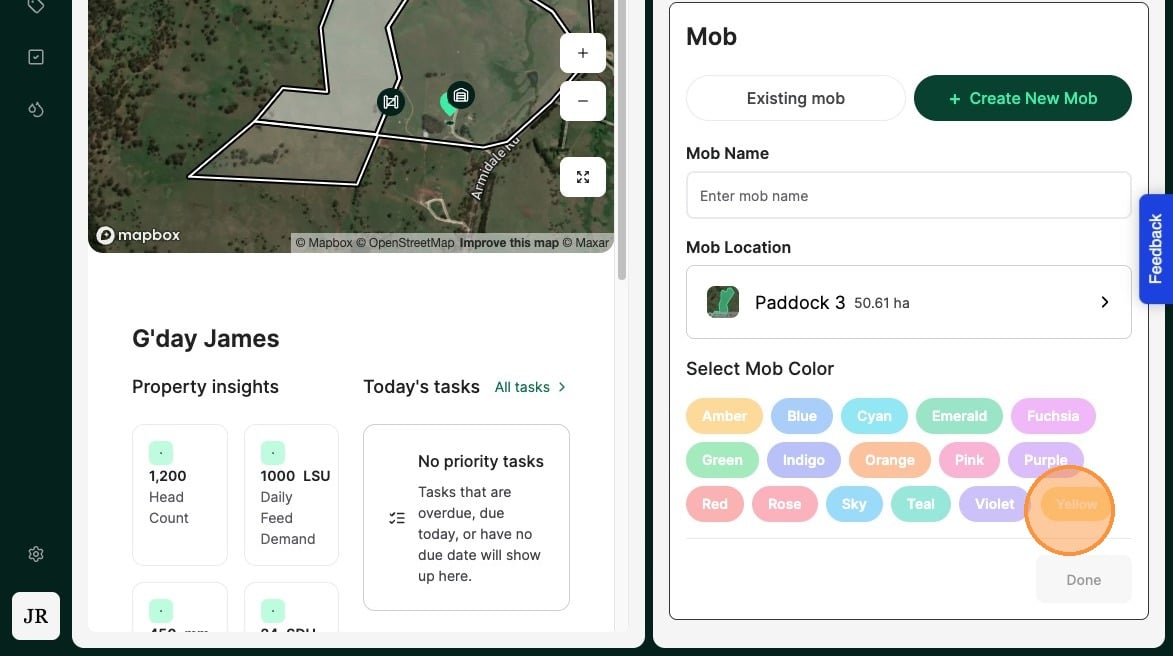
30. Select "Done"
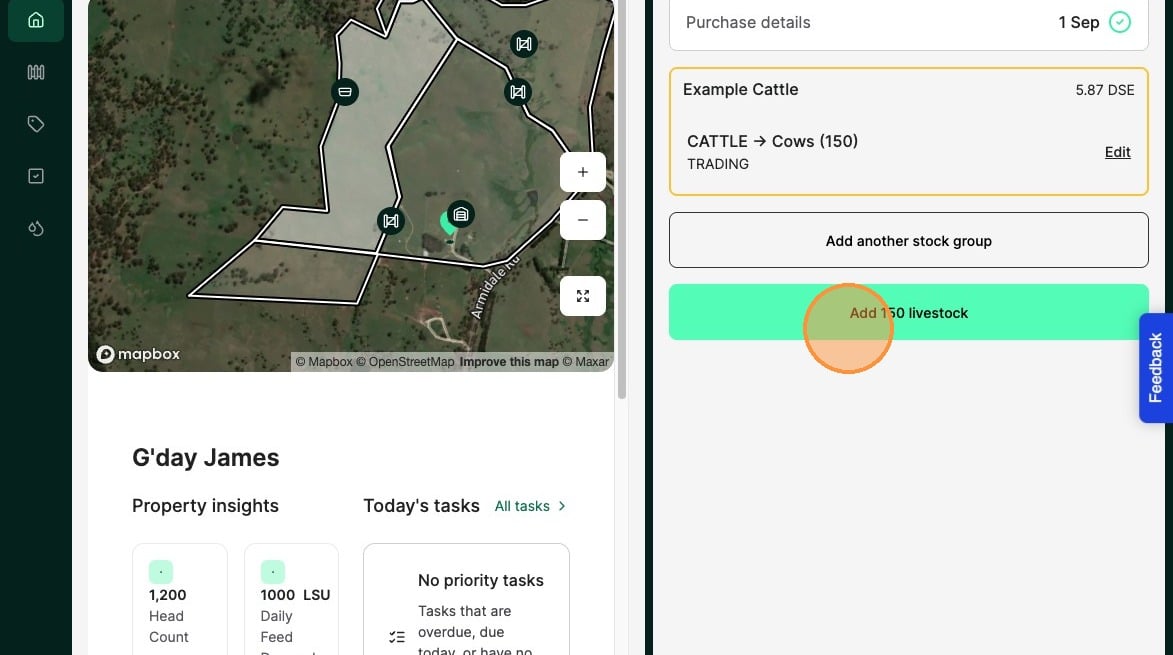
31. Where there are multiple stock groups being purchased, you may add additional Stock Groups to the Same purchase record. An example of this could be an invoice for both steers and heifers.
When satisfied with the Stock Groups, Select "Add livestock" to complete the purchase record